
Honestly, I’ve messed this up more times than I care to admit—trying to recreate that perfect, creamy costco pumpkin pie at home is no small feat. But then, there’s Costco’s pumpkin pie, swooping in like a holiday hero. This massive, golden-crusted beauty has become a staple on so many tables, and for good reason. It’s affordable, delicious, and big enough to feed a crowd (or, you know, just you and a fork over a long weekend).
Your kitchen will smell absolutely incredible when you bring this pie home, and trust me on this one—it’s a game-changer for holiday gatherings. Let’s dive into why Costco’s pumpkin pie is the ultimate holiday dessert, plus a few tips to make it your own (because I can’t resist tweaking things!). And since you asked, I’ve included a copycat recipe to bring that Costco magic to your kitchen—no membership required, though I’m still tempted to grab one for the samples alone.
Why Costco’s Pumpkin Pie Is a Holiday Must-Have
Picture this: It’s a crisp September morning in Portland, 2025, and I’m wandering the farmers market, dreaming of pumpkin everything. My trusty cast iron skillet is begging for action, but pie from scratch? That’s a recipe for disaster in my tiny kitchen, especially with Cilantro the cat eyeing my counter space. Enter Costco’s pumpkin pie. A reader tipped me off on Instagram (@quickdishrecipes), and last fall, it saved my Friendsgiving.
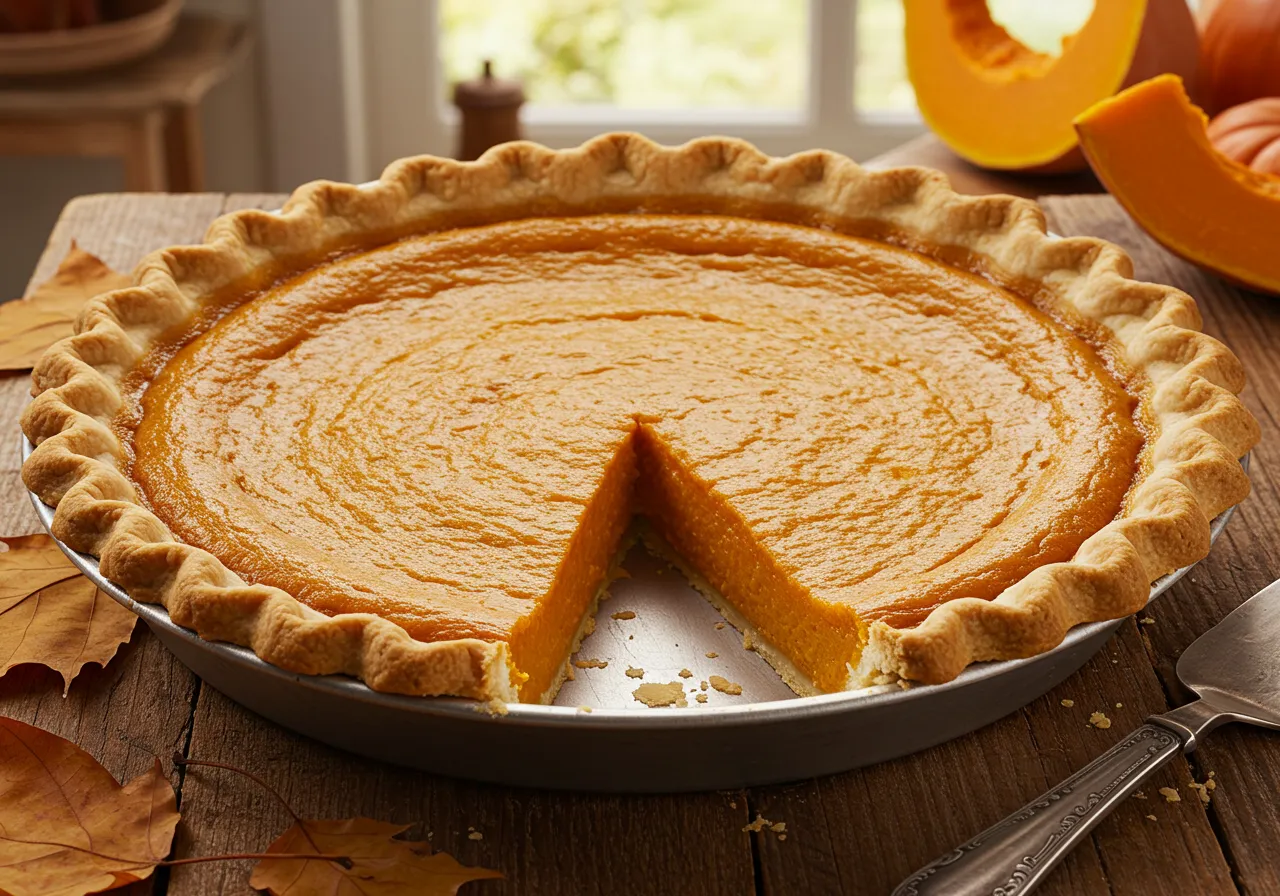
This pie is a beast—over 4 pounds of creamy, spiced pumpkin goodness in a flaky, buttery crust. At 12 inches wide and about $5.99 (prices might nudge up, but it’s still a steal), it’s a holiday miracle. Who has time to roast pumpkins and perfect that spice blend when you’re dodging holiday chaos? Not me, especially after the Great Dumpling Incident of 2020 left my kitchen smelling like a campfire.
A Little Backstory (and a Confession)
My Abuela Rosa’s pumpkin empanadas set a high bar—flaky, spiced, with a zesty lime kick that’s practically in my DNA. So, I was a total snob about store-bought pies. “No way it’s as good as homemade,” I scoffed. Then I tried Costco’s. Silky filling, warm spices, and a crust that doesn’t crumble into sadness—it’s like Abuela met American ingenuity. Confession: Baking is my kryptonite (my cookies could double as coasters), so I’m low-key obsessed with Costco’s consistency. For more fall baking inspo, check out my Pumpkin Banana Loaf Recipe—it’s way easier than pie.
What Makes Costco’s Pumpkin Pie So Special?
Let’s break down why this pie has a cult following:
1. The Size Is Unreal
At 58 ounces, it’s a crowd-pleaser. Last Friendsgiving, it fed 12 of us with slices left for breakfast (no judgment, right?). Perfect for potlucks or cozy nights in.
2. The Flavor Hits All the Right Notes
The filling, made from Dickinson pumpkins, is velvety and rich, with cinnamon, nutmeg, ginger, and cloves in perfect harmony. It’s cozy without being cloying—no watery messes here, unlike my early pie attempts.
3. The Crust Is a Dream
Golden, buttery, and flaky, it holds up without sogging out. Real butter makes it melt in your mouth. I wish I could replicate it, but my smoke alarm begs to differ.
4. The Price Is Unbeatable
Under $6 for bakery-quality pie? I’ve spent more on my Vietnamese coffee fix. It’s the kind of value that makes you feel like a holiday MVP.
5. It’s Versatile
Serve it plain or jazz it up with whipped cream, caramel, or my Mexican-inspired lime zest twist. Want another fall dessert hack? Try my Pumpkin Banana Cake Recipe for a similar vibe.
Copycat Costco Pumpkin Pie Recipe: Make It at Home
Love the original but want to play chef? This copycat recipe nails that creamy, spiced magic. I’ve tested it in my tiny kitchen, and it’s forgiving even when I overdo the spices (oops, “spicy pumpkin soup” anyone?). It makes one hefty 10-12 inch pie, ready in about 1 hour 15 minutes, plus chilling time.
Ingredients
For the Flaky Butter Crust (or grab a store-bought one—I won’t tell):
- 2 ½ cups all-purpose flour (plus extra for dusting)
- 1 tsp salt
- 1 tbsp granulated sugar
- 1 cup (2 sticks) cold unsalted butter, cubed
- 6-8 tbsp ice water
For the Creamy Pumpkin Filling:
- 3 cups canned pumpkin puree (Libby’s is closest to Costco’s)
- 1 can (12 oz) evaporated milk
- ½ cup heavy cream (for that luxe texture)
- 4 large eggs + 2 yolks (custard vibes, baby)
- ¾ cup brown sugar, packed
- ¼ cup granulated sugar
- 1 tbsp pumpkin pie spice (or DIY: 2 tsp cinnamon, ½ tsp nutmeg, ½ tsp ginger, ¼ tsp cloves)
- ½ tsp salt
- 1 tsp vanilla extract
- Pinch of cinnamon for dusting (optional, but it’s pretty)
How to Make It: Step-by-Step
- Crust Time (or Skip It): Whisk flour, salt, and sugar. Cut in cold butter until it’s crumbly like wet sand. Add ice water, 1 tbsp at a time, until it just holds. Don’t overmix—tough crust is the worst. Form a disk, wrap, chill 30 minutes. Roll out for a 10-inch deep-dish pie plate, crimp edges, fork-poke the bottom, and chill again.
- Blind Bake: Preheat to 375°F. Line crust with parchment, add pie weights (or beans—reuse ’em!). Bake 15-20 minutes until edges are golden. Remove weights, bake 5 more minutes. Cool to keep it crisp.
- Mix the Filling: Drop oven to 350°F. Beat eggs and yolks lightly. Stir in pumpkin, milks, sugars, spices, salt, and vanilla. Blend on low with a hand mixer for smoothness—no lumps allowed. (Curdled? Keep mixing.)
- Bake It: Pour into cooled crust, leaving a bit of room (it puffs). Bake 50-60 minutes until the center jiggles like Jell-O and a knife’s mostly clean. Cracks? Whipped cream’s your friend. Cool 2 hours, then fridge for 4+ hours.
- Serve: Slice cold or at room temp with whipped cream. I add lime zest for a Mexican zing—Abuela would approve.
Quick Tips & Subs:
- Gluten-Free for Jamie? Use a 1:1 GF flour blend for the crust; filling’s already safe. Try my Gluten-Free Chicken Noodle Soup for another GF win.
- No Heavy Cream? All evaporated milk works, just less rich.
- Spice It Up: Double ginger for heat or add cumin for fusion flair.
- Make-Ahead: Freeze baked pie (wrapped tight) for 2 months. Thaw in fridge overnight.
- Troubleshooting: Cracks mean overbaked—tent edges with foil next time. Soggy crust? Blind bake longer.
This recipe’s perfect when Costco’s sold out or you’re feeling extra. Pair it with my Honey Roasted Butternut Squash for a full fall feast.
Tips to Make Costco’s (or Your Homemade) Pie Your Own
Got your pie? Here’s how to make it pop:
- Whipped Cream with a Twist: Whip cream with vanilla, cinnamon, and lime zest—brightens it up.
- Spiced Sugar Dusting: Cinnamon, nutmeg, sugar sprinkle for crunch.
- Caramel Drizzle: Warm store-bought caramel for decadence.
Leftovers? Layer crumbled pie with yogurt and granola for parfaits. Freeze slices for January cravings—wrap tight, thank me later.
A Quick Story from the Great Pumpkin Pie Panic
Last Thanksgiving, I was set on wowing Jamie’s family with homemade pie. Disaster struck: lumpy filling, soggy crust, and a sugarless fiasco. Costco run, pie on a fancy platter, homemade whipped cream—boom, hero status. No one knew. Sometimes, shortcuts are love. For more holiday hacks, try my Turkey Cranberry Chili Recipe.
Why It’s Perfect for Fall in Portland
Portland’s fall is all pumpkins, rain, and cozy vibes. Costco’s pie (or your homemade version) fits like a warm sweater. Available September to December, it’s your go-to for Halloween or random Tuesdays. Craving more fall flavors? My Blueberry Oatmeal Bars are another crowd-pleaser.
Final Thoughts: Is Costco’s Pumpkin Pie Worth It?
It’s creamy, spiced perfection for pennies. With this recipe, you can recreate it anytime. How do you do pie—classic or wild? Drop a comment—I read every one! Portland folks, what’s your Costco must-have? Spill the beans.
About Ava: I’m Ava, a recovering corporate marketer who traded spreadsheets for spatulas after a life-changing trip through Southeast Asia. Now I write for QuickDishRecipes.com, creating recipes that blend my Mexican heritage with international flavors—all designed to get you fed well in 30 minutes or less. When I’m not racing against the clock in my tiny Portland kitchen, you’ll find me at the farmers market or experimenting with new ways to make healthy food actually taste exciting. I believe that cooking should be quick, fun, and always end with everyone asking for seconds.
Copycat Costco Pumpkin Pie Recipe
Ingredients
Method
- Make the Crust (or Grab Store-Bought): In a large bowl, whisk flour, salt, and sugar. Cut in cold butter with a pastry blender (or your fingers—get messy!) until it looks like coarse sand with pea-sized butter bits. Drizzle in ice water, 1 tbsp at a time, mixing until it just holds together. Don’t overwork it—tough crust is a bummer. Form into a disk, wrap in plastic, and chill for 30 minutes. Roll out on a floured surface to fit a 10-inch deep-dish pie plate. Crimp edges, poke bottom with a fork, and chill again while the oven heats.
- Blind Bake the Crust: Preheat oven to 375°F (190°C). Line crust with parchment, fill with pie weights or dried beans (pro tip: save ’em for next time). Bake 15-20 minutes until edges are golden. Remove weights, bake 5 more minutes. Cool to keep it crisp—nobody likes a soggy bottom.
- Mix the Filling: Drop oven to 350°F (175°C). In a big bowl, lightly beat eggs and yolks. Stir in pumpkin puree, evaporated milk, heavy cream, sugars, pumpkin pie spice, salt, and vanilla. Use a hand mixer on low for a smooth, lump-free mix. If it looks curdled, keep going—it’ll come together.
- Fill and Bake: Pour filling into cooled crust, leaving a smidge of room (it puffs up). Bake 50-60 minutes until the center jiggles like Jell-O and a knife comes out mostly clean. If edges crack, don’t sweat it—whipped cream hides all sins. Cool on a rack for 2 hours, then chill in the fridge for at least 4 hours to set.
- Serve It Up: Slice cold or at room temp. Top with whipped cream (I add cinnamon and lime zest for a zingy twist—Abuela Rosa would approve). Sprinkle with extra cinnamon or a caramel drizzle for extra flair.
Notes
- Gluten-Free Hack for Jamie: Swap a 1:1 gluten-free flour blend for the crust; the filling’s already GF. Check out my Gluten-Free Chicken Noodle Soup for another crowd-pleaser.
- No Heavy Cream? Use all evaporated milk—it’s still delish, just less rich.
- Spice It Up: Double the ginger for heat or add a pinch of cumin for a Mexican fusion nod. Honestly, I’ve over-spiced before, and it’s still edible!
- Make-Ahead Magic: Bake, cool, wrap tightly, and freeze up to 2 months. Thaw in fridge overnight for stress-free holidays.
- Troubleshooting: Cracks? You overbaked—tent edges with foil next time after 30 minutes. Soggy crust? Blind bake a bit longer. Looks messy? Mine always does, and it still tastes amazing.
- Leftovers? Crumble into parfaits with yogurt and granola, or freeze slices for January cravings. Try my Pumpkin Banana Cake for more fall vibes.
- Serving Ideas: Pair with my Honey Roasted Butternut Squash for a full fall feast or serve with Turkey Cranberry Chili for a holiday spread that screams cozy.
Nutrition (Per Slice, Approximate)
- Calories: 320 kcal
- Fat: 18g
- Saturated Fat: 10g
- Carbohydrates: 35g
- Sugar: 20g
- Protein: 6g
- Sodium: 240mg