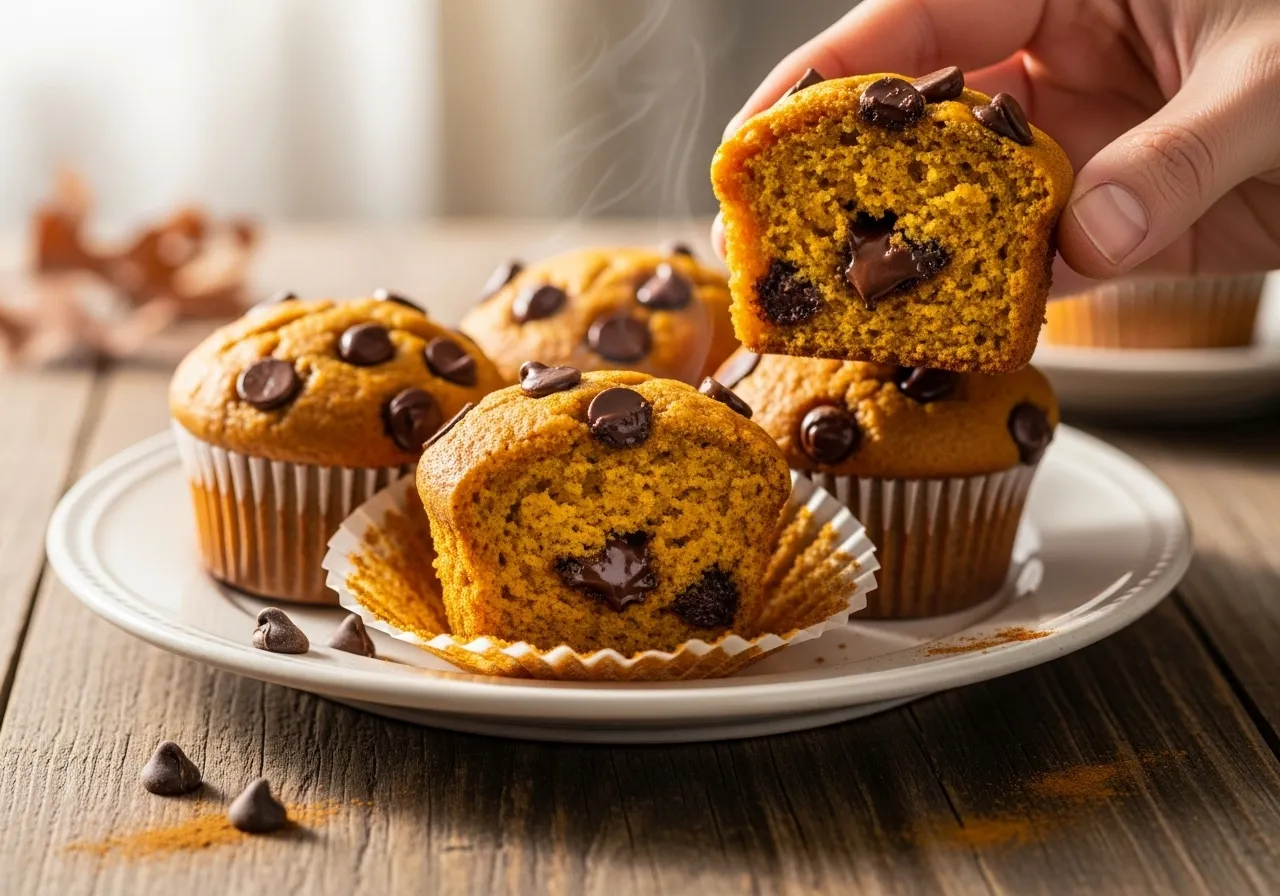
Okay, so I need to come clean about something. I’m absolutely terrible at baking. Like, burn-the-cookies-every-single-time terrible. But these Pumpkin Chocolate Chip Muffins? They’ve somehow become my redemption story.
It all started last October when Jamie asked if I could make “something fall-y” for their office potluck. I panicked because, well, baking and I have a complicated relationship. But I figured muffins were basically just tiny cakes, and how hard could that be? (Spoiler: I’ve said that before about sourdough, and we all know how that ended.)
Why These Muffins Changed My Baking Game
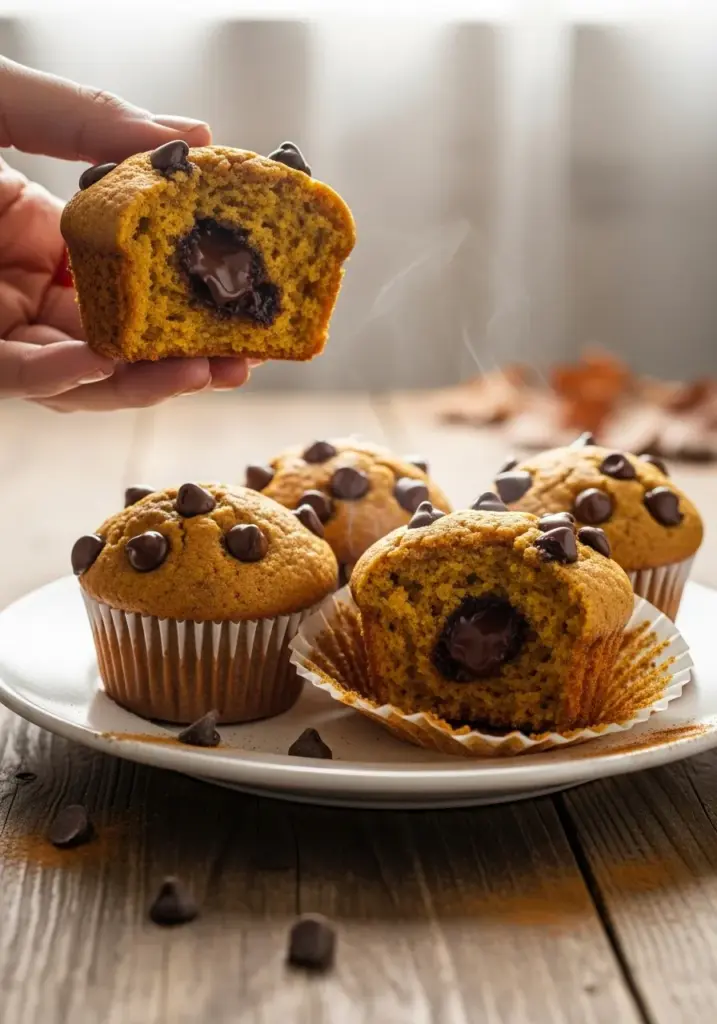
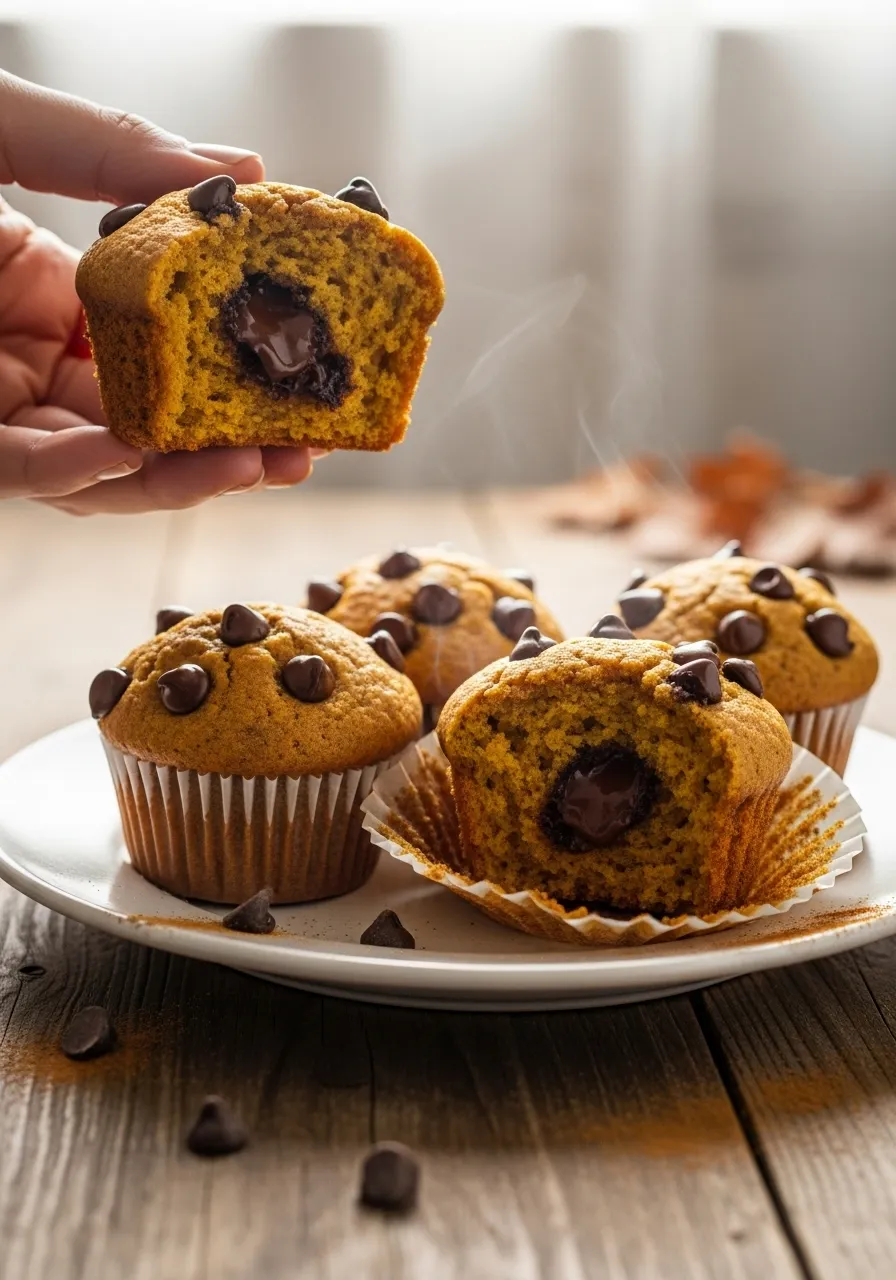
Here’s the thing about these pumpkin chocolate chip muffins—they’re ridiculously forgiving. And trust me, I’ve tested their forgiveness multiple times. The pumpkin keeps everything moist even if you slightly overbake them (which I definitely did the first time), and the chocolate chips? They hide a multitude of sins.
The smell alone is worth making these. Your kitchen will smell absolutely incredible—all warm spices and melted chocolate. Cilantro, my cat, goes completely nuts every time I make them. He parks himself right by the oven door like he’s waiting for his share.
The Secret to Muffins That Actually Turn Out
I learned this trick the hard way after three batches of dense, hockey-puck muffins: don’t overmix the batter. Seriously. I used to think more mixing meant better muffins, but turns out that’s exactly wrong. You want to mix just until the dry ingredients are incorporated—lumpy batter is actually your friend here.
Also, room temperature ingredients make a huge difference. I know, I know, it’s annoying to wait. But cold eggs and cold pumpkin puree create a totally different texture. I usually just set everything out while I’m having my morning Vietnamese coffee, and by the time I’m caffeinated enough to bake, everything’s ready.
Ingredient Swaps That Actually Work
Since Jamie’s gluten-free, I’ve had to get creative with these pumpkin chocolate chip muffins. A good 1:1 gluten-free flour blend works perfectly—you honestly can’t tell the difference. And if you’re not into chocolate chips, pepitas (pumpkin seeds) give an amazing crunch and keep the pumpkin theme going. Actually, speaking of pumpkin seeds, check out the Benefits of Roast Pumpkin Seeds if you’ve never tried roasting them yourself—total game changer.
Want to make these a little healthier? I’ve successfully swapped half the oil for unsweetened applesauce. The muffins come out slightly less rich but still delicious. You could also use coconut sugar instead of regular sugar for a deeper, almost caramel-like flavor.
Here’s my controversial take though: I use both cinnamon and a good amount of cumin in these. Yes, cumin. It adds this warm, earthy depth that makes people ask “what’s that flavor?” but they can never quite place it. Trust me on this one.
The 7-Step Process (Even Baking Disasters Can Follow)
Step 1: Prep Your Space Preheat your oven to 375°F and line a muffin tin with paper liners. Don’t skip the liners—I tried greasing the pan once and spent 20 minutes scraping muffin remnants out of the tin. Learn from my mistakes.
Step 2: Mix Your Dry Ingredients In a large bowl, whisk together 2 cups all-purpose flour, 1 teaspoon baking soda, 1/2 teaspoon baking powder, 1/2 teaspoon salt, 1 tablespoon cinnamon, 1 teaspoon ginger, 1/2 teaspoon nutmeg, and 1/4 teaspoon cumin. (See, I told you about the cumin.)
Step 3: Combine Your Wet Ingredients In another bowl, whisk together 1 can (15 oz) pumpkin puree, 3/4 cup sugar, 1/2 cup vegetable oil, 2 eggs, and 1 teaspoon vanilla extract. Make sure everything’s at room temperature—this is where I used to mess up every time.
Step 4: The Gentle Fold Pour the wet ingredients into the dry ingredients and fold gently with a spatula. Stop as soon as you don’t see dry flour anymore. Honestly, I’ve messed this up more times than I care to admit, but now I literally step away from the bowl after about 15 folds. Lumpy is good. Lumpy is your friend.
Step 5: Add the Good Stuff Fold in 1 cup chocolate chips (I use semi-sweet, but dark chocolate is incredible here too). Save a few chips to press into the tops of the muffins before baking—it makes them look bakery-worthy.
Step 6: Fill and Top Divide the batter among the muffin cups, filling each about 3/4 full. Press those reserved chocolate chips on top. This step is optional but makes them look like you actually know what you’re doing.
Step 7: Bake to Perfection Bake for 18-22 minutes, until a toothpick inserted into the center comes out clean or with just a few moist crumbs. Don’t worry if it looks messy—mine always does! The tops should be golden and slightly domed. Let them cool in the pan for 5 minutes before transferring to a wire rack.
How I Serve These (And How Long They Last)
Honestly, these pumpkin chocolate chip muffins are perfect just warm from the oven with a little butter melting on top. But I’ve also crumbled them over vanilla ice cream for an easy fall dessert, and that was a total hit at our last dinner party.
They’ll keep in an airtight container for about 4 days on the counter, or you can freeze them for up to 3 months. I actually prefer freezing them individually wrapped—then I can grab one, microwave it for 30 seconds, and pretend I’m a person who meal preps breakfast.
Want more fall baking inspiration? My Blueberry Oatmeal Bars have a similar cozy vibe and are even easier to throw together. And if you’re really feeling adventurous with pumpkin desserts, the Pumpkin Cheesecake Cookies on the site are absolutely unreal—though fair warning, they’re slightly more involved than these muffins.
My Final Thoughts on Embracing Baking Imperfection
Look, I still burn cookies on the regular. My sourdough starters rest in peace somewhere in starter heaven. But these muffins? They’ve taught me that baking doesn’t have to be perfect to be absolutely delicious.
The first batch I made for Jamie’s potluck was slightly overdone and weirdly lumpy. People still devoured them and asked for the recipe. Turns out, when something smells like fall and has chocolate chips in it, nobody really cares if your technique is flawless.
So if you’re scared of baking like I was (am?), start here. These pumpkin chocolate chip muffins are forgiving, flavorful, and honestly kind of hard to screw up. And if you do somehow mess them up, there’s always pizza. I learned that particular lesson on Thanksgiving 2019, but that’s a story for another time.
Now go make your kitchen smell amazing. And maybe hide a few muffins from your family before they disappear—I’m speaking from experience here.
Pumpkin Chocolate Chip Muffins
Ingredients
Method
- Step 1: Preheat and Prep Preheat your oven to 375°F (190°C). Line a 12-cup muffin tin with paper liners or grease wells generously with cooking spray.
- Step 2: Mix Dry IngredientsIn a large mixing bowl, whisk together the flour, baking soda, baking powder, salt, cinnamon, ginger, nutmeg, and cumin until well combined. Set aside.
- Step 3: Combine Wet IngredientsIn a separate medium bowl, whisk together the pumpkin puree, sugar, vegetable oil, eggs, and vanilla extract until smooth and fully combined. Make sure all ingredients are at room temperature for the best texture.
- Step 4: Fold Together (Don't Overmix!)Pour the wet ingredients into the bowl with the dry ingredients. Using a rubber spatula, gently fold the mixture together until just combined. Stop mixing as soon as you don't see any dry flour—about 12-15 folds. The batter should be slightly lumpy. This is KEY to tender muffins!
- Step 5: Add Chocolate ChipsGently fold in the chocolate chips, reserving a handful for topping. Be careful not to overmix at this stage.
- Step 6: Fill Muffin CupsDivide the batter evenly among the 12 muffin cups, filling each about 3/4 full. Press the reserved chocolate chips onto the tops of each muffin for a bakery-style look.
- Step 7: BakeBake for 18-22 minutes, or until a toothpick inserted into the center of a muffin comes out clean or with just a few moist crumbs (not wet batter). The tops should be golden brown and spring back when lightly touched.
- Step 8: CoolLet the muffins cool in the pan for 5 minutes, then transfer to a wire rack to cool completely. Serve warm or at room temperature.
Notes
- Gluten-Free: Use a 1:1 gluten-free flour blend with xylanthan gum
- Oil-Free: Replace half the oil with unsweetened applesauce for lighter muffins
- Sugar: Coconut sugar works beautifully for a deeper, caramel-like flavor
- Chocolate: Swap chocolate chips for chopped dark chocolate, white chocolate chips, or pepitas (pumpkin seeds)
- Room Temperature: Store in an airtight container for up to 4 days
- Refrigerator: Keep for up to 1 week (bring to room temp or warm slightly before eating)
- Freezer: Wrap individual muffins in plastic wrap, then place in a freezer bag for up to 3 months. Thaw overnight or microwave for 30-45 seconds
- Room temperature ingredients are crucial—cold eggs and pumpkin create a dense texture
- Don’t skip the cumin! It adds an incredible warmth that people love but can’t quite identify
- Slightly underbake rather than overbake—the muffins will continue cooking as they cool
- For extra-moist muffins, add 2 tablespoons of sour cream or Greek yogurt to the wet ingredients
- Calories: 245 kcal
- Carbohydrates: 35g
- Protein: 3g
- Fat: 11g
- Saturated Fat: 3g
- Cholesterol: 31mg
- Sodium: 185mg
- Fiber: 2g
- Sugar: 18g
- Vitamin A: 3150 IU
- Vitamin C: 1mg
- Calcium: 35mg
- Iron: 2mg
FAQ Section
Q: Can I use fresh pumpkin instead of canned? A: Yes! Use 1 3/4 cups of fresh pumpkin puree. Make sure to drain excess moisture by pressing it through cheesecloth or a fine-mesh strainer first.
Q: Why do my muffins turn out dense? A: The most common culprit is overmixing the batter. Mix only until the dry ingredients are just incorporated—lumpy batter makes fluffy muffins!
Q: Can I make these dairy-free? A: Absolutely! This recipe is naturally dairy-free as written. Just make sure your chocolate chips are dairy-free if needed.
Q: How do I know when they’re done baking? A: A toothpick inserted into the center should come out clean or with just a few moist crumbs. The tops should spring back when lightly pressed.
Q: Can I double this recipe? A: Yes! This recipe doubles perfectly. You may need to bake in batches unless you have two muffin tins.

