
Okay, I need to be completely honest with you—I’m terrible at baking. Like, legendarily bad. I’ve burned more cookies than I care to admit, and my sourdough starter saga? Let’s just say three starters met their tragic end during the pandemic. But here’s the thing: this Hawaiian banana bread is the recipe that made me believe I could actually bake something without setting off the smoke alarm.
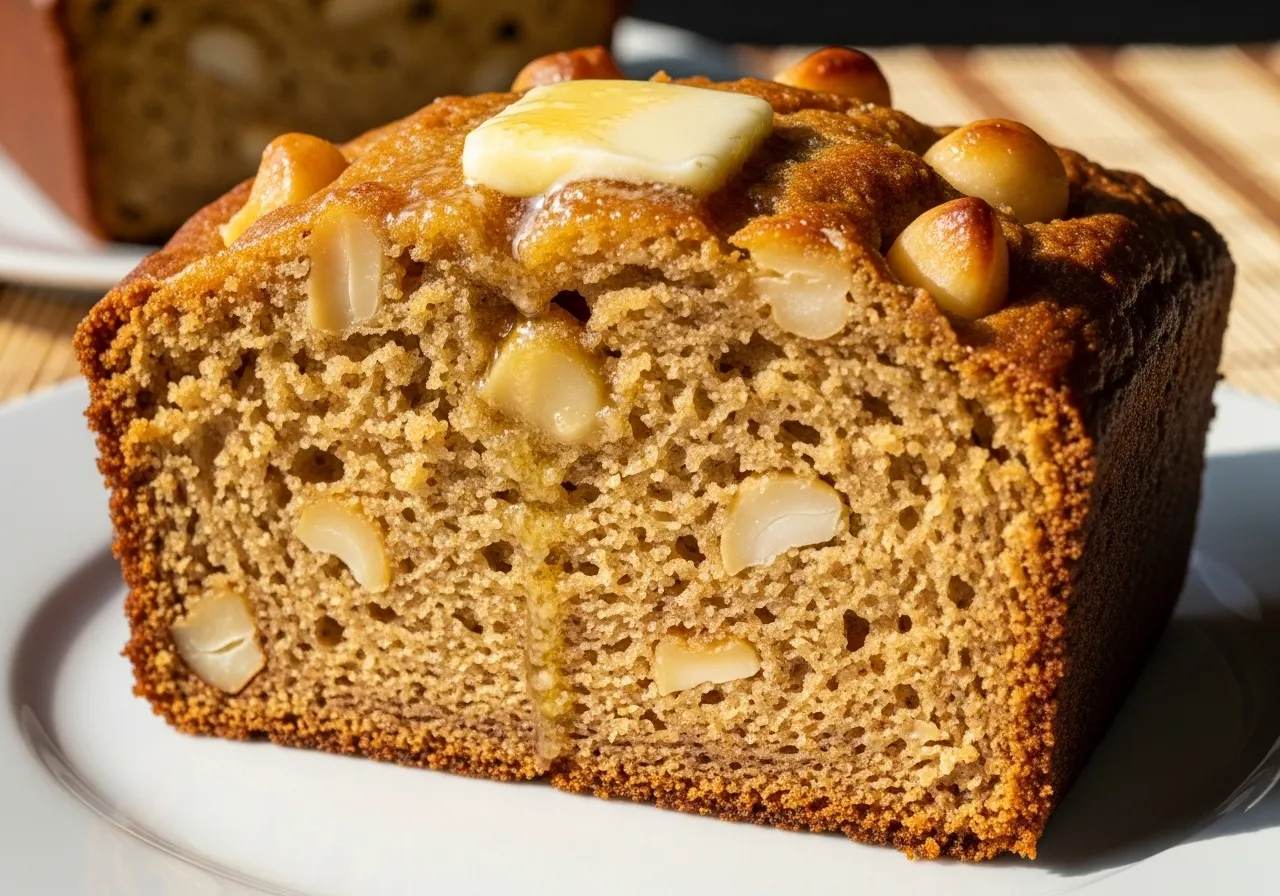
I first tasted authentic Hawaiian banana bread during a weekend trip to Maui back in 2019, and honestly, it changed everything I thought I knew about banana bread. The woman running this tiny roadside stand handed me a thick, warm slice that was so moist it practically melted in my mouth. The tropical sweetness of banana mixed with toasted coconut and buttery macadamia nuts? Absolute magic. I knew right then I had to recreate it back home in Portland.
What Makes Hawaiian Banana Bread Different?
Traditional banana bread is wonderful, don’t get me wrong. But Hawaiian banana bread takes everything you love about the classic version and turns it tropical. The secret is in the additions—shredded coconut adds moisture and a subtle sweetness, while macadamia nuts bring this incredible buttery crunch that regular walnuts just can’t match.
And here’s what I learned the hard way: Hawaiian banana bread is actually more forgiving than regular banana bread. The extra moisture from the coconut means it’s nearly impossible to overbake (which is perfect for someone like me who gets distracted by Cilantro trying to steal ingredients off the counter). Trust me on this one—if I can nail this recipe in my tiny apartment kitchen with approximately three inches of counter space, you absolutely can too.
🧮 Hawaiian Banana Bread Calculator
Adjust the recipe to your needs & get personalized tips!
👥 How many slices do you need?
👨🍳 How ripe are your bananas?
🌡️ Where are you baking?
📝 Your Custom Recipe
Wet Ingredients
Dry Ingredients
⏰ Your Baking Guide
Ready to bake? Scroll down for the full recipe with step-by-step instructions! 🌺
Made this recipe? Tag us and share your tropical creation!
The Ingredients That Make It Special
The beauty of this recipe is that you probably have most ingredients already. But there are a few tropical touches that make all the difference:
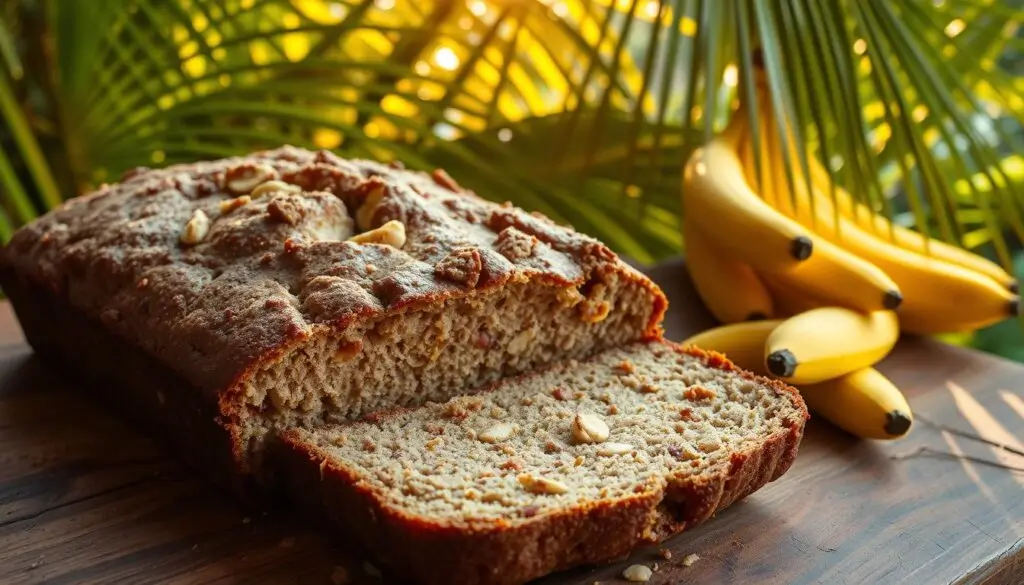
Overripe bananas are your best friend here. I’m talking brown, spotty, the ones you’re almost embarrassed to have on your counter. Those are pure gold for banana bread because they’re sweeter and mash more easily. I usually freeze overripe bananas in their peels, then thaw them when I’m ready to bake—the texture gets even mushier, which is exactly what we want.
Sweetened shredded coconut adds moisture and that unmistakable tropical flavor. I’ve tried both sweetened and unsweetened, and honestly? The sweetened version wins every time. It caramelizes slightly as it bakes, creating these little pockets of toasted coconut goodness throughout the loaf.
Macadamia nuts are the real star here. Yes, they’re pricier than walnuts, but they’re worth every penny. If you absolutely need a substitute, pecans work better than walnuts because they have that buttery quality that complements the coconut. But if you can swing it, go for the macadamias—your kitchen will smell like a Hawaiian vacation.
I also add a splash of vanilla extract and just a hint of cinnamon because it enhances the banana flavor without overpowering those tropical notes. And here’s my controversial admission: I use both white and brown sugar. The brown sugar adds depth and keeps everything moist, which is crucial for banana bread that stays tender for days.
My Foolproof Hawaiian Banana Bread Method
Listen, I’ve messed this up more times than I care to admit before I figured out the perfect technique. The key is not overmixing—this was my biggest mistake for years. When you combine wet and dry ingredients, mix just until you can’t see dry flour anymore. Those little lumps? Totally fine. Overmixing develops the gluten and makes your bread tough instead of tender.
Here’s the method that finally worked for me:
Step 1: Prep Everything Preheat your oven to 350°F and grease a 9×5-inch loaf pan. I use butter for this because it adds flavor, but cooking spray works too. Don’t skip greasing the sides—I learned this lesson when half my loaf stuck to the pan. Not fun.
Step 2: Mash Those Bananas In a large bowl, mash 3-4 very ripe bananas until mostly smooth. I leave some small chunks because they create little pockets of intense banana flavor. Use a fork or potato masher—no need for fancy equipment.
Step 3: Mix Wet Ingredients Add 1/3 cup melted butter (cooled slightly), 3/4 cup sugar (I do half white, half brown), 1 beaten egg, and 1 teaspoon vanilla extract to your mashed bananas. Whisk until combined. The mixture should look slightly lumpy and smell incredible.
Step 4: Combine Dry Ingredients In a separate bowl, whisk together 1 1/2 cups all-purpose flour, 1 teaspoon baking soda, 1/2 teaspoon salt, and 1/2 teaspoon cinnamon. This step ensures your leavening agent distributes evenly—no one wants a bite with all the baking soda taste.
Step 5: The Gentle Fold Pour your dry ingredients into the wet ingredients. Using a rubber spatula, fold gently until just combined. Then fold in 3/4 cup shredded coconut and 1/2 cup chopped macadamia nuts. Remember: lumps are your friends here.
Step 6: Bake to Perfection Pour the batter into your prepared pan and smooth the top. Sprinkle a little extra coconut and a few macadamia nuts on top for that gorgeous bakery look. Bake for 60-65 minutes, or until a toothpick inserted in the center comes out clean or with just a few moist crumbs.
Here’s where I always get nervous—the top will brown fairly quickly because of the sugar content. If it’s getting too dark around the 40-minute mark, tent it loosely with aluminum foil. The bread is done when it springs back lightly when touched and a toothpick comes out without wet batter (some moisture is fine).
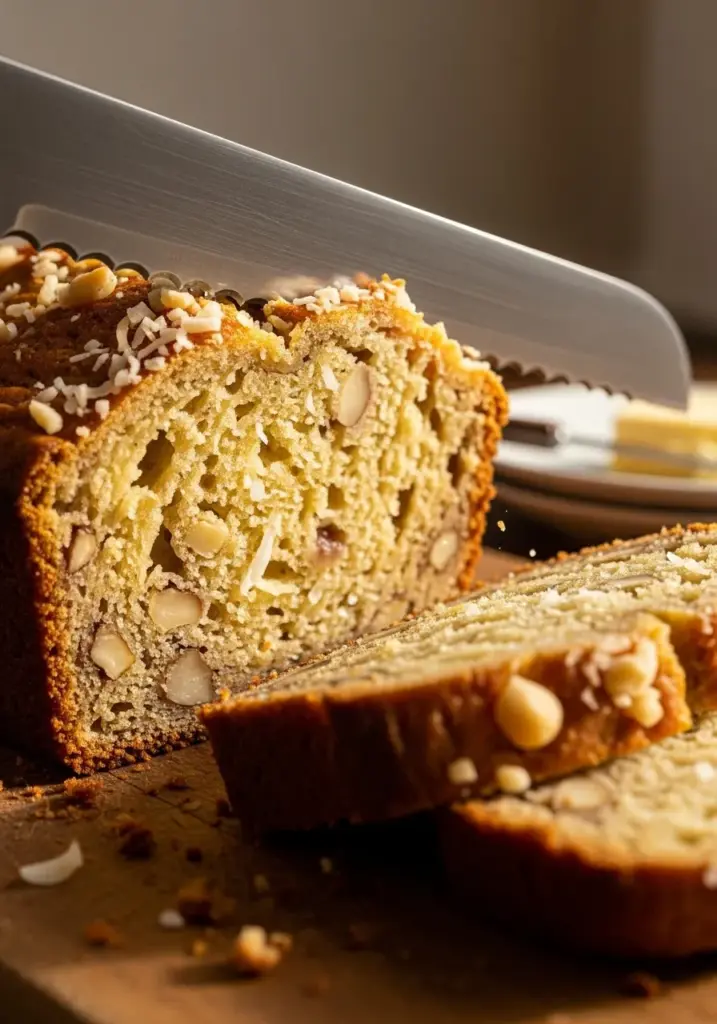
Step 7: The Hardest Part Let the bread cool in the pan for about 10 minutes, then turn it out onto a wire rack. I know the smell is driving you crazy at this point, but resist cutting into it immediately. Hot banana bread crumbles easily. Give it at least 15 more minutes. (I usually make it about 8 minutes before I cave, but do as I say, not as I do.)
Tips for Tropical Banana Bread Success
After making this recipe probably 30 times, here are the tricks I’ve picked up:
Toast your coconut first if you want even more flavor. Spread it on a baking sheet and toast at 350°F for 5-7 minutes until golden. It adds an extra layer of nuttiness that’s incredible.
Room temperature ingredients matter more than I thought. I used to pull eggs straight from the fridge, and my batter would look weird and separated. Now I let my egg sit out for 20 minutes first, and everything blends much smoother.
The toothpick test isn’t perfect. Because of the coconut and bananas, you might see some moisture even when it’s done. The bread should feel firm when you gently press the top, and a toothpick should come out without wet batter clinging to it.
Storage is simple: Wrap cooled banana bread tightly in plastic wrap and keep it at room temperature for up to 3 days. Honestly, mine never lasts that long. Jamie usually demolishes half the loaf the first day (yes, this recipe is naturally gluten-free-friendly if you swap the flour—I use a 1:1 gluten-free blend and it works perfectly).
Variations I Love
Once you’ve mastered the basic recipe, this banana bread is incredibly versatile:
Chocolate Chip Hawaiian Bread: Fold in 1/2 cup dark chocolate chips along with the coconut and nuts. The slight bitterness of dark chocolate balances the sweetness beautifully.
Pineapple Paradise: Add 1/2 cup well-drained crushed pineapple for extra tropical vibes. Reduce the mashed banana slightly to compensate for the extra moisture.
Lighter Version: I’ve made this with half whole wheat flour and reduced the sugar to 2/3 cup. It’s still delicious but feels a bit healthier for breakfast.
Muffin Magic: This batter makes incredible muffins. Fill muffin tins 2/3 full and bake at 350°F for 18-22 minutes. Perfect for meal prep—I make a batch every few weeks and freeze them for quick breakfasts. If you love banana in baked goods, definitely check out my Pumpkin Banana Loaf too—it’s another crowd-pleaser that’s ideal for fall.
Speaking of easy breakfast options, if you’re looking for another delicious baked treat, you might also enjoy my Blueberry Yogurt Muffins. They’re just as simple and perfect for busy mornings when you need something special without the effort.
Why This Recipe Works Every Time
The magic of this Hawaiian banana bread is in the balance. The bananas provide natural sweetness and moisture, the coconut adds texture and keeps everything tender, and the macadamia nuts give you that satisfying crunch. It’s not too sweet, not too dense—just perfectly tropical and comforting.
And honestly? It’s nearly impossible to mess up. I’ve made this recipe when I was stressed, distracted, and once even after a couple glasses of wine (not my finest moment, but it still turned out great). The forgiving nature of this recipe makes it perfect for beginner bakers or, you know, people like me who still occasionally burn cookies.
Serving Suggestions
This bread is incredible any time of day. I love a thick slice for breakfast with my Vietnamese-style coffee—the slight bitterness of the coffee cuts through the sweetness perfectly. It’s also amazing toasted with a smear of salted butter (game-changer, trust me).
For dessert, try warming a slice and serving it with vanilla ice cream and a drizzle of caramel sauce. Or go full tropical with a scoop of coconut ice cream and fresh mango slices. Your kitchen will smell absolutely incredible, and everyone will be asking for the recipe.
The best part? This banana bread actually tastes better the next day once all the flavors have melded together. Which means you can bake it on Sunday during your meal prep session (that’s my routine), and enjoy it all week long.
So go ahead, grab those sad brown bananas off your counter, and give this recipe a try. Even if baking isn’t usually your thing, I promise this Hawaiian banana bread will make you feel like a tropical baking genius. And when people ask how you made something so delicious, just smile and tell them it’s all in the aloha spirit.
Don’t worry if your loaf looks a little messy or imperfect—mine always does, and it tastes just as amazing. Happy baking! 🌺
Hawaiian Banana Bread
Ingredients
Method
- Step 1: Prepare Your Pan and OvenPreheat your oven to 350°F (175°C). Generously grease a 9×5-inch loaf pan with butter or cooking spray, making sure to get the sides well. You can also line with parchment paper for easy removal.
- Step 2: Mash the BananasIn a large mixing bowl, mash the very ripe bananas with a fork or potato masher until mostly smooth. It's okay to leave some small chunks – they'll create pockets of intense banana flavor! You should have about 1½ cups of mashed banana.
- Step 3: Mix the Wet IngredientsAdd the melted butter to the mashed bananas and stir to combine. Mix in both sugars (white and brown) until well incorporated. Add the beaten egg and vanilla extract, whisking until the mixture looks smooth and slightly glossy. Don't worry if it looks a bit lumpy – that's totally normal!
- Step 4: Combine the Dry IngredientsIn a separate medium bowl, whisk together the flour, baking soda, salt, and cinnamon. This ensures your leavening agent distributes evenly throughout the batter.
- Step 5: The Gentle Fold (Most Important Step!)Pour the dry ingredients into the wet ingredients. Using a rubber spatula or wooden spoon, gently fold the mixture together until JUST combined. You should still see a few small lumps and streaks of flour – this is perfect! Overmixing develops gluten and makes tough bread.
- Step 6: Add the Tropical GoodnessGently fold in the shredded coconut and chopped macadamia nuts until just distributed throughout the batter. Again, be gentle – we want tender bread, not tough bread!
- Step 7: Pour and TopPour the batter into your prepared loaf pan and smooth the top with a spatula. Sprinkle the extra coconut and macadamia nuts on top for a gorgeous bakery-style finish.
- Step 8: Bake to PerfectionBake for 60-65 minutes, or until a toothpick inserted into the center comes out clean or with just a few moist crumbs (no wet batter). The top will turn golden brown. If it's browning too quickly (around the 40-minute mark), loosely tent the top with aluminum foil.
- Step 9: Cool ProperlyLet the bread cool in the pan for 10 minutes, then carefully turn it out onto a wire rack. Allow it to cool for at least 15-20 minutes before slicing. I know it smells amazing, but hot banana bread crumbles easily!
Notes
- Replace macadamia nuts with chopped pecans or walnuts (though macadamias are more authentic)
- For nut-free: omit nuts entirely or substitute with sunflower seeds
- Use unsweetened shredded coconut if preferred (bread will be slightly less sweet)
- Toast the coconut first at 350°F for 5-7 minutes for extra flavor
- Omit for coconut-free version (add ¼ cup more banana)
- Use all brown sugar for deeper molasses flavor
- Reduce total sugar to ⅔ cup for less sweet version
- Substitute coconut sugar for refined sugar-free option
- Use 1:1 gluten-free flour blend for gluten-free version (no other changes needed!)
- Substitute ½ cup whole wheat flour for added fiber
- Chocolate Chips: Fold in ½ cup dark chocolate chips
- Pineapple: Add ½ cup well-drained crushed pineapple (reduce banana to 3)
- Rum Extract: Add ½ tsp rum extract for extra tropical flavor
- Lime Zest: Add 1 tablespoon fresh lime zest to brighten flavors
Nutrition Information (Per Slice) Serving Size: 1 slice (1/12 of loaf)
- Calories: 245
- Total Fat: 11g
- Saturated Fat: 6g
- Cholesterol: 30mg
- Sodium: 185mg
- Total Carbohydrates: 35g
- Dietary Fiber: 2g
- Sugars: 18g
- Protein: 3g
Tips for Success
- Use a kitchen scale if you have one – weigh your flour (190g for 1½ cups) for consistent results
- Toast your nuts for 5 minutes before adding to enhance their buttery flavor
- Don’t skip the brown sugar – it adds moisture and keeps the bread tender for days
- Check early – ovens vary! Start checking at 55 minutes to prevent overbaking
- Freeze bananas ahead – when bananas get too ripe, freeze them in their peels. Thaw and use when ready to bake
- Make muffins instead – fill muffin tins ⅔ full, bake at 350°F for 18-22 minutes. Makes about 16 muffins
Frequently Asked Questions
Q: Can I use frozen bananas?
A: Absolutely! Thaw them completely and drain excess liquid. They’ll be mushier, which is perfect for banana bread.
Q: Why is my bread dense?
A: You likely overmixed the batter. Mix just until combined – lumps are okay!
Q: Can I make this dairy-free?
A: Yes! Replace butter with melted coconut oil or vegetable oil.
Q: My bread sank in the middle. What happened?
A: Usually from underbaking or opening the oven door too early. Bake until fully set and avoid opening the oven in the first 45 minutes.
Q: Can I double this recipe?
A: Yes! Make two separate loaves rather than one huge one. Baking time stays the same.