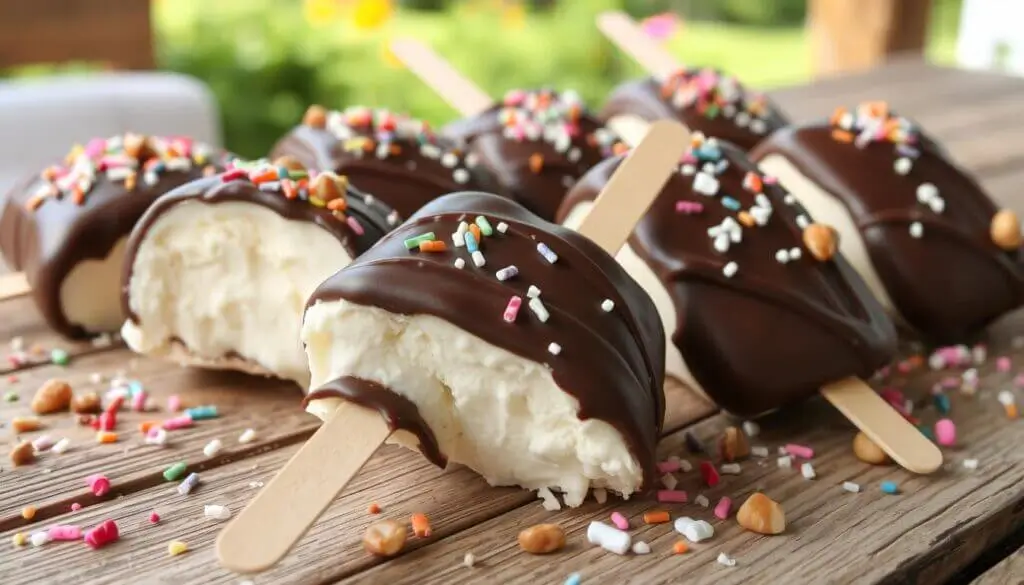
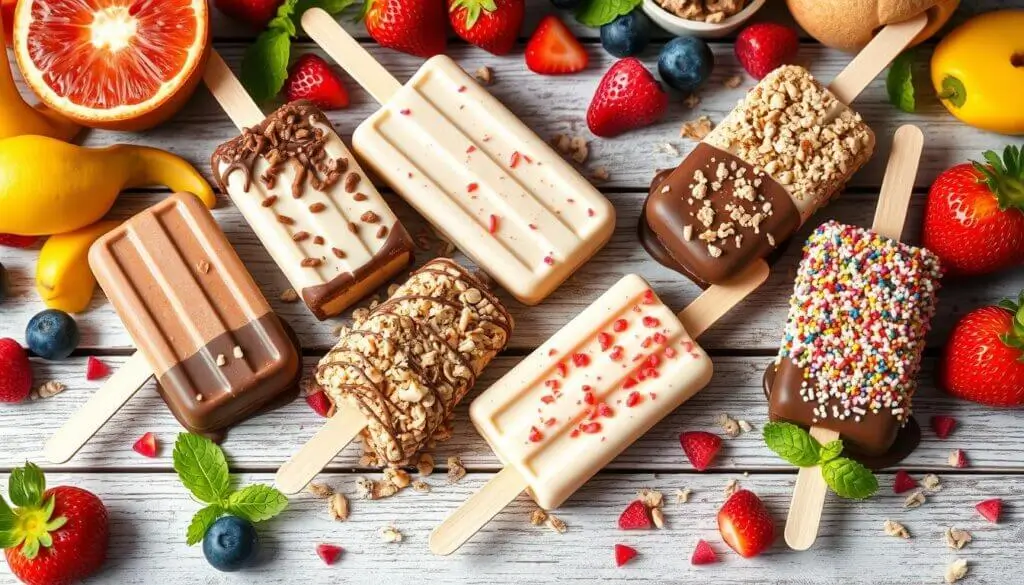
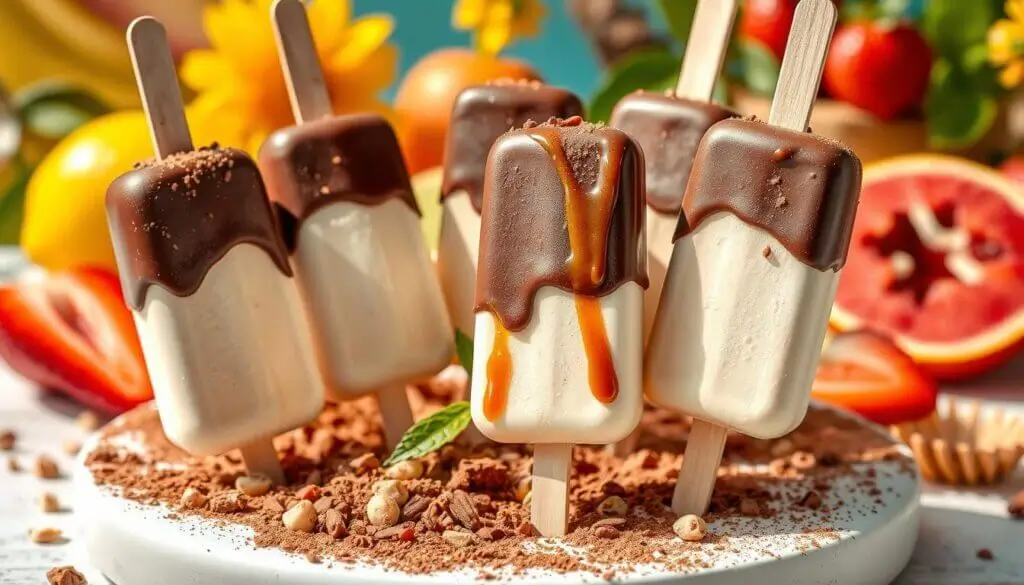
The Eskimo Pie is a classic treat that combines creamy ice cream with rich chocolate. As a kid, I loved the first taste of it on a hot summer day. It was a sweet escape from the heat. Now, I enjoy making it at home, where I can pick the flavors and ingredients.
This article will cover the Eskimo Pie’s history and why it’s loved so much. We’ll also talk about what you need to make it at home and how to do it. Whether you want to surprise your family or impress your guests, this recipe will make you a pro in the kitchen.
Understanding the History and Appeal of Eskimo Pie Treats
The Eskimo Pie, a favorite summer treat, has a rich history since 1920. Christian Nelson, a candy maker, created it by mixing ice cream with chocolate. This idea quickly won over many, making these treats very popular.
Origins of the Classic Eskimo Pie
Christian Nelson, an Iowa candy shop owner, was looking to improve his ice cream. He tried many times until he coated ice cream bars in chocolate. This was the first Eskimo Pie, and it quickly became a hit across America.
Why These Treats Remain Popular Today
Eskimo Pie treats are loved for many reasons. The mix of creamy ice cream and chocolate is always a hit. They’re also easy to enjoy, perfect for families and summer fun. Plus, they bring back happy memories for many.
These treats have stood the test of time. They remind us of our childhood and bring joy to new generations. Their lasting appeal shows the power of creativity and how it touches our hearts and taste buds.

Essential Ingredients for Perfect Homemade Ice Cream Bars
Making homemade ice cream bars, like the famous Eskimo Pie, is easy with a few key ingredients. High-quality vanilla ice cream is at the core of these treats. For the chocolate coating, use melted dark and milk chocolate for the best taste.
Adding chopped nuts or your favorite family-friendly sweets like crushed cookies or mini chocolate chips can make your ice cream bars special. These extras can turn your homemade ice cream bars into unique desserts.
Using fresh, high-quality ingredients is key for the best results. With creamy ice cream, rich chocolate, and fun mix-ins, you can make copycat recipes that are just as good as Eskimo Pie.
| Ingredient | Quantity | Purpose |
|---|---|---|
| Vanilla Ice Cream | 1 quart | The base for the ice cream bars |
| Dark Chocolate | 8 ounces | Provides the signature chocolate coating |
| Milk Chocolate | 4 ounces | Balances the sweetness of the dark chocolate |
| Chopped Nuts (optional) | 1/2 cup | Adds texture and flavor to the bars |
| Mini Chocolate Chips (optional) | 1/4 cup | Provides a chocolatey crunch |

With these ingredients, you’re ready to make delicious homemade ice cream bars. They will impress your family and friends. Enjoy the perfect mix of creamy ice cream and rich chocolate in every bite!
Required Kitchen Tools and Equipment
Making homemade Eskimo Pie popsicles at home is easy. You don’t need a lot of special equipment. Just the right tools make it simpler and faster. These tools are perfect for making kid-friendly snacks or easy frozen treats.
Popsicle Molds and Alternatives
The key to a great Eskimo Pie is the popsicle mold. You can find molds in many shapes and sizes. They help you make treats just the right size. If you don’t have molds, use small paper cups, ice cube trays, or small containers instead.
Chocolate Dipping Tools
To get the Eskimo Pie look, you need tools for dipping. A wide, shallow bowl or saucepan is great for melting chocolate. Also, have a long spoon or fork ready to dip the bars gently.
Storage Containers
After making your Eskimo Pies, you need good storage. Use airtight, freezer-safe containers or bags. This keeps your treats fresh and frozen until you’re ready to eat them.
| Kitchen Tool | Purpose |
|---|---|
| Popsicle Molds | Shaping the frozen ice cream bars |
| Shallow Bowl or Saucepan | Melting the chocolate for the coating |
| Long-handled Spoon or Fork | Submerging the bars in the melted chocolate |
| Airtight Containers or Bags | Storing the finished Eskimo Pies in the freezer |
With these tools, you’re ready to make tasty homemade Eskimo Pie popsicles. They’re perfect for both kids and adults.
Best Homemade Eskimo Pie Popsicle Recipe
Enjoy the classic taste of chocolate-covered ice cream with this best homemade eskimo pie popsicle recipe. Making your own chocolate-covered ice cream popsicles is simple and the taste is amazing.
To start, you’ll need a few ingredients:
- 2 cups heavy cream
- 1 cup whole milk
- 3/4 cup granulated sugar
- 1 vanilla bean, split lengthwise, or 2 teaspoons vanilla extract
- Pinch of salt
- 12 ounces semisweet chocolate, chopped
- 2 tablespoons coconut oil
Here’s how to make the best homemade eskimo pie popsicle recipe:
- In a medium saucepan, mix the heavy cream, milk, sugar, vanilla bean (or extract), and salt. Heat it over medium, stirring now and then, until the sugar dissolves and it’s hot but not boiling.
- Take the saucepan off the heat and let the vanilla bean steep for 30 minutes. Then, throw away the vanilla bean.
- Pour the ice cream base into popsicle molds and freeze for at least 4 hours, or until solid.
- In a medium bowl, melt the chocolate and coconut oil together. You can do this in the microwave or over a double boiler, stirring often until smooth.
- Unmold the frozen popsicles and dip them in the melted chocolate, covering them completely. Place the chocolate-covered popsicles on a parchment-lined baking sheet and freeze until the chocolate hardens, about 30 minutes.
- Serve and enjoy your homemade best homemade eskimo pie popsicle recipe!
For an extra special treat, add a sprinkle of toasted coconut, crushed nuts, or a drizzle of caramel sauce to your chocolate-covered ice cream popsicles. You can customize this recipe in many ways.
Creating the Perfect Ice Cream Base
Making the perfect ice cream sandwiches or family-friendly sweets begins with a great ice cream base. You can choose from vanilla bean for its rich flavor or vanilla extract for ease. The goal is to achieve a smooth, scoopable texture for molding and freezing.
Vanilla Bean vs Extract Options
Vanilla beans give a unique flavor that extract can’t match. They add a luxurious touch to your ice cream. But, vanilla extract is cheaper and easier to find. Try both to see what you like best.
Achieving the Right Consistency
- For creamy ice cream, aim for 14-18% butterfat content.
- Egg yolks make it creamier and stop ice crystals.
- Cook the custard base well to use the eggs’ thickening power.
- Chill the base fully before churning for the best texture.
With practice, you’ll make homemade ice cream sandwiches and treats as good as store-bought. The key is a perfect ice cream base.
Mastering the Chocolate Shell Coating
To make your chocolate-covered ice cream popsicles even better, focus on the chocolate shell. This step adds a nice crunch and keeps the ice cream inside fresh. Here are some tips to get your chocolate coating just right.
Choosing the Right Chocolate
Choosing the right chocolate is key for a great chocolate shell. Milk chocolate or semisweet chocolate is perfect for copycat recipes of Eskimo Pie-style popsicles. Pick high-quality chocolate that melts well and has a shiny finish.
Tempering the Chocolate
Tempering the chocolate is important for a shiny, crisp coating. Melt the chocolate slowly and then cool it down to the right temperature. This ensures it sets perfectly.
Achieving the Right Thickness
The chocolate shell’s thickness depends on what you like. Aim for 1/8 to 1/4 inch for a nice crunch. Play with the chocolate’s consistency and dipping technique to get it just right.
| Chocolate Coating Thickness | Texture | Recommended Use |
|---|---|---|
| Thin (1/8 inch) | Crisp, delicate | Classic Eskimo Pie-style popsicles |
| Thick (1/4 inch) | Substantial, crunchy | Decadent chocolate-dipped ice cream bars |
With these tips, you’re ready to make perfect chocolate shells for your chocolate-covered ice cream popsicles. Have fun experimenting and enjoy your tasty creations!
Tips for Proper Freezing and Storage
Keeping your homemade Eskimo Pie popsicles fresh is key for enjoying them all summer. To keep them delicious, follow these important tips for freezing and storing.
Optimal Freezing Temperature
For perfect popsicles, keep your freezer at 0°F (-18°C) or lower. This cold keeps ice crystals away and keeps your treats smooth and creamy.
Long-term Storage Solutions
Store your Eskimo Pie popsicles in airtight containers or plastic bags. This keeps them fresh for 2-3 months. Don’t forget to label them so you know when they were made.
| Freezing Temperature | Storage Duration |
|---|---|
| 0°F (-18°C) or lower | 2-3 months |
With these easy tips, you can enjoy your Eskimo Pie popsicles all summer. Treat yourself to these tasty popsicles whenever you want!
Customization Options and Variations
Make your homemade Eskimo Pies even better with fun customization options. They’re perfect for kids or as no-bake desserts. Everyone will love them.
Try different ice cream flavors like mint chocolate chip, strawberry, or peanut butter. These add a special touch to the classic Eskimo Pie. Add mix-ins like crushed Oreos or mini chocolate chips for extra flavor and texture.
Don’t stick to just dark chocolate for the coating. Milk chocolate or white chocolate can be a nice change. You can also drizzle with caramel or sprinkle sea salt for a unique taste.
- Mint Chocolate Chip Eskimo Pies
- Strawberry Swirl Eskimo Pies
- Peanut Butter Cup Eskimo Pies
- Cookies and Cream Eskimo Pies
- Salted Caramel Eskimo Pies
There are countless ways to make your Eskimo Pies unique. Be creative and try new flavor combinations. These treats will quickly become a favorite in your home.
“Homemade Eskimo Pies are a true delight, and the customization options make them an even more irresistible treat.” – Food Critic, ABC Magazine
Serving Suggestions and Presentation Ideas
Make your homemade Eskimo Pie popsicles a hit this summer. They’re perfect for family gatherings or just a sweet treat. These ice cream bars are great for getting creative with serving and presentation.
Try setting up an ice cream bar station. Let your guests add their favorite toppings and garnishes. You can offer nuts, sprinkles, crushed cookies, and fresh berries for extra color and texture.
For a photo-worthy display, place the Eskimo Pies on a wooden board or marble slab. Drizzle melted chocolate over them, then sprinkle with toasted coconut or cocoa powder. The dark chocolate and creamy ice cream make for a stunning look.
Want to mix these family-friendly sweets with other desserts? Serve them with vanilla ice cream or on top of brownies. This mix of textures and flavors will make your summer treats even better.
With a bit of creativity, your Eskimo Pies can be a real showstopper. Whether you choose a simple or whimsical display, these ice cream bars will be the star of any summer event.
Conclusion
Making your own best homemade eskimo pie popsicle recipe is a fun and tasty project. You learn about Eskimo Pie’s history and why it’s loved. Then, you can make these ice cream bars at home.
It’s very rewarding to make Eskimo Pie popsicles yourself. You get to make the ice cream and coat it in chocolate. Each step lets you add your own special touch.
So, why not try making Eskimo Pie popsicles at home? It’s a chance to enjoy a world of chocolatey treats. You can share them or keep them all to yourself. Either way, they’re sure to make you happy and satisfy your sweet tooth.
FAQ
What are the key ingredients needed to make homemade Eskimo Pie popsicles?
To make Eskimo Pie popsicles, you need top-notch vanilla ice cream and chocolate for coating. You can also add nuts or sprinkles for extra fun. Using fresh ingredients is key to getting the best taste.
What kitchen tools and equipment are required for making Eskimo Pie treats?
You’ll need popsicle molds, chocolate dipping tools, and containers for storage. The right tools make it easier to make perfect Eskimo Pies.
How do I create the perfect ice cream base for my Eskimo Pies?
For a smooth ice cream base, use vanilla beans or extract. Getting the right consistency is important for molding and freezing your Eskimo Pies.
What’s the best way to apply the chocolate shell coating?
To get the chocolate shell just right, melt the chocolate and apply it evenly. This ensures your Eskimo Pies look and taste authentic.
How do I properly freeze and store my homemade Eskimo Pies?
Keep your Eskimo Pies fresh by freezing them at the right temperature. Use good storage solutions to avoid freezer burn. This keeps your treats in perfect condition.
Can I customize or create variations of the classic Eskimo Pie recipe?
Yes! Try different flavors, coatings, and add-ins to make your Eskimo Pies unique. You can experiment with mint chocolate chip or peanut butter, and more.
How can I serve and present my homemade Eskimo Pies in an appealing way?
Serve your Eskimo Pies in creative ways, like at an ice cream bar or in other desserts. Use garnishes and plating to make them look even better.

