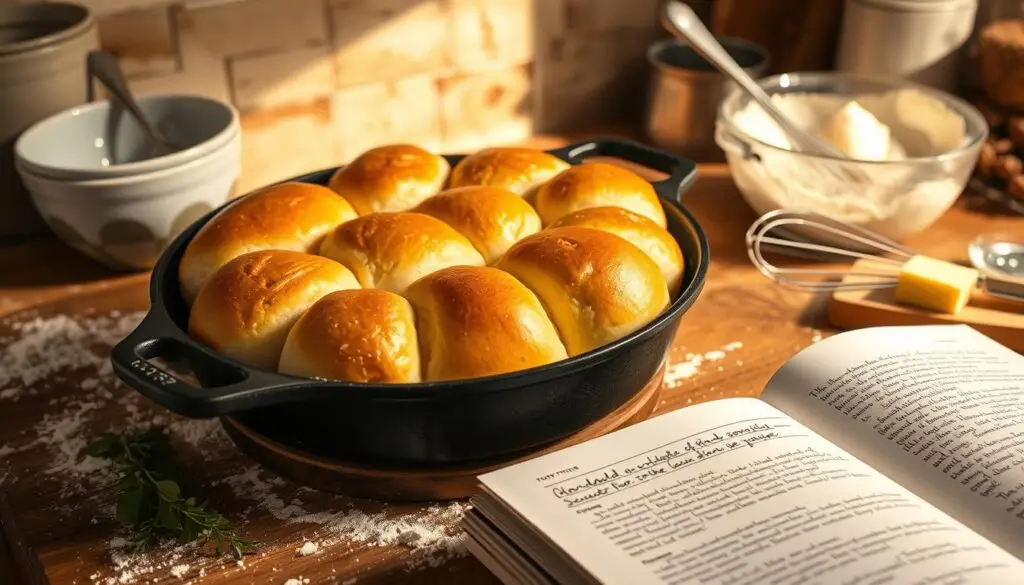
The smell of fresh bread in the kitchen is amazing. It takes us back to simpler times. Making sourdough dinner rolls recipe is a joy for me.
In this guide, I’ll teach you how to make perfect sourdough rolls. You’ll learn about fermentation and how to get a golden crust. Say goodbye to store-bought bread and start baking your own.
Understanding the Magic of Sourdough Dinner Rolls
Baking sourdough bread at home is like an art form. It shows the magic of fermentation. Sourdough dinner rolls are a perfect example, turning simple ingredients into a masterpiece. Let’s explore the science behind sourdough fermentation and its amazing benefits.
The Science Behind Sourdough Fermentation
Sourdough fermentation is unique and fascinating. It uses wild yeast and lactic acid bacteria. This mix creates a special ecosystem that changes the dough slowly.
This slow process adds depth to the flavor and improves the bread’s texture. It also makes the bread easier to digest and more nutritious.
Benefits of Homemade Sourdough Rolls
- Improved Digestibility: The fermentation breaks down gluten, making sourdough easier to digest than regular bread.
- Enhanced Nutritional Value: Sourdough baking keeps and even boosts important nutrients like B vitamins and minerals.
- Longer Shelf Life: Sourdough rolls stay fresh longer because of the lactic acid bacteria’s natural preservative effect.
What Makes These Rolls Special
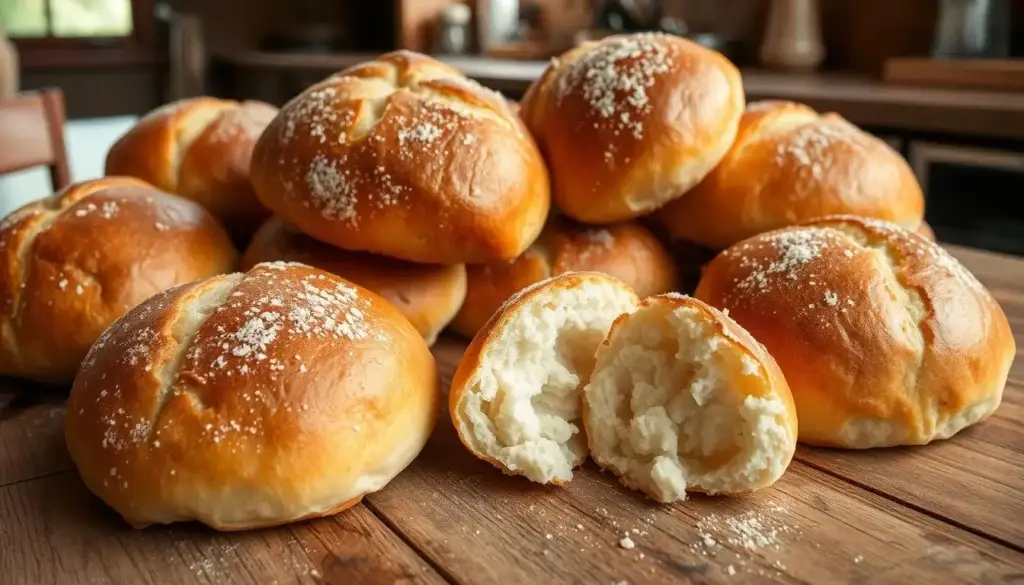
Homemade sourdough dinner rolls are different from store-bought ones. The slow fermentation gives them a unique, tangy taste. They have a chewy crust and a soft inside, offering a delightful texture.
They also have more nutritional value, making them a healthier option for your family.
Discover the secrets of sourdough bread baking and make your own sourdough dinner rolls at home. The magic of sourdough fermentation is waiting to take your baking to the next level.
Essential Ingredients for Perfect Sourdough Dinner Rolls Recipe
Making delicious sourdough dinner rolls begins with the right ingredients. You need a few key items for the perfect rise, texture, and taste. Let’s explore what makes these rolls special.
High-Quality Flour
The base of any sourdough recipe is top-notch flour. Choose a bread flour or all-purpose flour with 11-13% protein. This helps the dough rise and gives it a nice chew.
Trusty Sourdough Starter
No sourdough recipe is complete without a lively starter. Your starter is the heart of the dough, providing the yeast for rising. Keep your starter healthy and bubbly for the best results.
Flavorful Salt
Salt is key in sourdough dinner rolls. Use high-quality salt like Himalayan or sea salt. It boosts the flavor and balances the dough’s sweetness.
Hydrating Water
The right water amount is crucial for the dough’s consistency. Start with 65-75% hydration and adjust as needed. This will help you get a smooth, easy-to-work dough.
With these ingredients, you’re ready to bake delicious sourdough starter recipes and fermented bread dough rolls. They’ll impress your taste buds and satisfy your hunger.
“The secret to the best sourdough rolls lies in the quality of the ingredients and the care you put into the fermentation process.”
Creating and Maintaining Your Sourdough Starter
Starting your sourdough baking journey means creating a healthy starter. This starter is a mix of wild yeast and bacteria. It’s the key to making tasty sourdough, like dinner rolls. Let’s explore how to make and care for your starter.
Feeding Schedule for Active Starter
To keep your starter alive, feed it regularly. Feed it once or twice a day with equal parts flour and water. This 1:1:1 ratio keeps it active and ready for baking.
Signs of a Healthy Starter
- The starter should double in volume within 8-12 hours of feeding.
- You should see visible bubbles and signs of fermentation, indicating the yeast is active.
- The starter should have a slightly tangy, slightly sweet aroma, rather than a sour or unpleasant smell.
Troubleshooting Common Starter Issues
Having starter problems? Don’t worry! Here are solutions for common issues:
- Inactivity: If your starter isn’t active, try feeding it more often or adjust the flour-to-water ratio.
- Sour Smell: A strong sour smell means it’s too acidic. Feed it less or add more flour.
- Hooch (Liquid on Top): A dark liquid on top means it’s hungry. Just stir it back in and feed it.
Keeping a sourdough starter alive takes time and effort. But the joy of baking homemade sourdough is worth it. Soon, you’ll be making delicious sourdough dinner rolls!
Step-by-Step Mixing and Kneading Process
Making the perfect sourdough bread baking and homemade sourdough rolls begins with mastering mixing and kneading. Follow these easy steps to get your dough just right.
- Start by mixing your sourdough starter, warm water, and some flour in a big bowl. Use a wooden spoon or your hands to mix until it’s a shaggy dough.
- Put the dough on a floured surface and knead for 10-15 minutes. Work in the rest of the flour until the dough is smooth and elastic. It should pass the “window pane” test, where you can stretch it thin without it tearing.
- After kneading, shape the dough into a ball and put it in an oiled bowl. Cover it with a damp towel or plastic wrap. Let it rise for 6-8 hours, or until it doubles in size.
The secret to great sourdough bread baking and homemade sourdough rolls is patience and attention to mixing and kneading. With practice, you’ll make rolls that everyone will love.

“The secret to making the best sourdough bread baking and homemade sourdough rolls is in the kneading. It’s a labor of love, but the results are always worth it.”
Mastering the Art of Fermentation and Proofing
Making perfect fermented bread dough rolls or sourdough baking techniques needs a good grasp of fermentation and proofing. These steps are key to getting the right texture, flavor, and rise in your sourdough rolls.
First Rise Techniques
The first rise, or bulk fermentation, is when the dough gets its sourdough taste and smell. To get it right, follow these tips:
- Let the dough ferment at a moderate temperature, between 70-80°F, for 8-12 hours.
- Check the dough’s size, aiming for it to double before moving on.
- Every few hours, gently fold the dough to spread yeast and strengthen gluten.
Shaping Perfect Rolls
After the first rise, it’s time to shape your fermented bread dough rolls. Here’s how to make them look and taste great:
- Deflate the dough to get rid of big air pockets.
- Split the dough into equal parts, using a scale for accuracy.
- Shape each piece into a tight ball, tucking edges under for a clean shape.
Final Proofing Tips
The final proof is the last step before baking, where the rolls get their final texture and rise. Follow these tips for a successful final proof:
| Proofing Method | Temperature Range | Proofing Time |
|---|---|---|
| Room Temperature | 70-80°F | 1-2 hours |
| Refrigerator | 40-45°F | 8-12 hours |
By getting good at fermentation and proofing, you’ll make delicious, sourdough baking techniques.
Baking Techniques for Crusty Sourdough Rolls
To get the perfect crusty sourdough dinner rolls, you need to balance oven temperature, steam, and baking time. Mastering these techniques will help you make artisan bread rolls. They will have a golden-brown crust and a soft, fluffy inside.
Oven Temperature and Baking Time
For a crisp crust, bake the rolls at a high temperature. Preheat your oven to 450°F (230°C). Place a shallow baking pan on the bottom rack to create steam.
Bake the rolls for 15-20 minutes. They should turn a deep golden brown. Make sure to rotate the baking sheet halfway for even browning.
Achieving the Perfect Crust with Steam
Steam is key for a shiny crust on your sourdough rolls. Pour 1 cup of hot water into the baking pan on the bottom rack just before baking. This steam helps the rolls get a crisp, artisan-style crust.
You can also mist the rolls with water from a spray bottle before baking. This adds moisture to the surface, improving the crust.
| Baking Tip | Description |
|---|---|
| High Oven Temperature | Bake the crusty sourdough dinner rolls at 450°F (230°C) for a crisp, golden-brown crust. |
| Steaming Technique | Add a shallow pan of hot water to the oven or mist the rolls with water to create steam and enhance crust development. |
| Baking Time | Bake the rolls for 15-20 minutes, rotating the baking sheet halfway through for even browning. |

By using these baking techniques, you can make crusty sourdough dinner rolls that look like they came from an artisan bakery. Enjoy the satisfying crunch of the crust and the soft, fluffy inside of these homemade crusty sourdough dinner rolls and artisan bread rolls.
Storage and Reheating Guidelines
Keeping your homemade sourdough rolls fresh is key. The right storage can make them last longer. This way, you can enjoy them for days. Let’s look at the best ways to store and reheat your rolls.
Proper Storage Methods
After your homemade sourdough rolls cool down, it’s time to store them. Keep them in a cool, dry spot, away from sunlight or heat. An airtight container or resealable bag is best. It keeps the rolls moist and prevents drying.
For the best taste, store your overnight sourdough rolls at room temperature for 3 days. If you want to keep them longer, the fridge is good for up to a week.
Reheating for Best Results
To get that perfect crust, reheat your rolls. Preheat your oven to 350°F (175°C). Place the rolls on the rack or a baking sheet. Bake for 5-10 minutes until warm and crispy.
Or, you can microwave them. But be careful not to overheat, which can make them tough. Start with 20-30 seconds and adjust as needed.
Freezing Instructions
- To freeze your homemade sourdough rolls, cool them first. Then, put them in an airtight container or freezer-safe bag.
- Stored right, your overnight sourdough rolls can freeze for 3 months. Thaw at room temperature or reheat from the freezer.
- Frozen rolls can be reheated in the oven or microwave, just like fresh ones.
By following these tips, your homemade sourdough rolls will stay delicious and fresh, even days later.
Variations and Flavor Enhancements
Discover the full potential of your homemade rustic sourdough rolls with creative variations and flavor boosts. Your artisan bread rolls can be a canvas for endless flavors.
Begin by adding aromatic herbs and spices to your dough. Rosemary, thyme, garlic, and black pepper can enhance the taste. For sweetness, mix in raisins, dried cranberries, or chopped walnuts.
- Herb-infused Sourdough Rolls: Rosemary, thyme, and garlic.
- Sweet Sourdough Rolls: Raisins, dried cranberries, and chopped walnuts.
- Savory Cheese Sourdough Rolls: Parmesan, cheddar, or feta.
Want to try something new? Play with different shapes and sizes. From round rolls to plaited rustic sourdough rolls, you can experiment. Try making knots or braids for a stunning look.
The charm of homemade artisan bread rolls is their flexibility. Let your creativity shine and follow your taste. Enjoy making and eating your sourdough creations.
Conclusion
Congratulations on mastering homemade sourdough dinner rolls! You’ve learned how to make delicious, crusty rolls in your kitchen. You now know the secrets of fermentation, shaping, and baking.
These sourdough rolls are perfect as a side for stew or with butter. Your family and friends will love them. The unique taste and texture show the magic of slow fermentation.
Keep trying new things with different flours and herbs. You can make your own special sourdough rolls. Baking these rolls is a joy that brings happiness to those you share them with.
FAQ
What is the secret to making flavorful sourdough dinner rolls?
The secret to tasty sourdough dinner rolls is fermentation. Let your dough ferment slowly with a healthy starter. This creates a rich flavor and a chewy texture.
How long does it take to make sourdough dinner rolls from start to finish?
Making sourdough dinner rolls takes time and planning. But the actual work is not much. It takes about 12-24 hours, depending on your methods.
Do I need a stand mixer to make sourdough dinner rolls?
No, you don’t need a stand mixer. You can knead the dough by hand. The goal is to knead well, whether by hand or with a mixer.
Can I use my sourdough starter straight from the fridge?
For the best results, use an active starter. If it’s been in the fridge, feed it a few times to get it active before using it.
How do I achieve a crispy crust on my sourdough dinner rolls?
For a crispy crust, bake at 450°F and use steam at first. This gives you a golden, crackly crust and a soft inside.
Can I freeze sourdough dinner rolls for later use?
Yes, you can freeze sourdough dinner rolls. Cool them, then store in an airtight container or bag. They last up to 3 months. Thaw at room temperature or warm in the oven.

