Have you ever baked something so delicious that it felt like the ground was moving beneath your feet? That’s exactly the sensation you’ll experience with a mouthwatering Strawberry Earthquake Cake! This incredible dessert has been causing sweet tremors in kitchens across the country, and today I’m sharing everything you need to know to create this showstopper at home.
What Is a Strawberry Earthquake Cake? The Dessert That’s Shaking Up Kitchens Everywhere
If you’ve never heard of an earthquake cake before, you’re in for a magnificent surprise. Unlike traditional layer cakes with their perfectly aligned strata, earthquake cakes earn their seismic name from the way the ingredients shift, crack, and merge during baking. The result? A gloriously imperfect, crater-filled surface that looks like the aftermath of a delicious natural disaster!
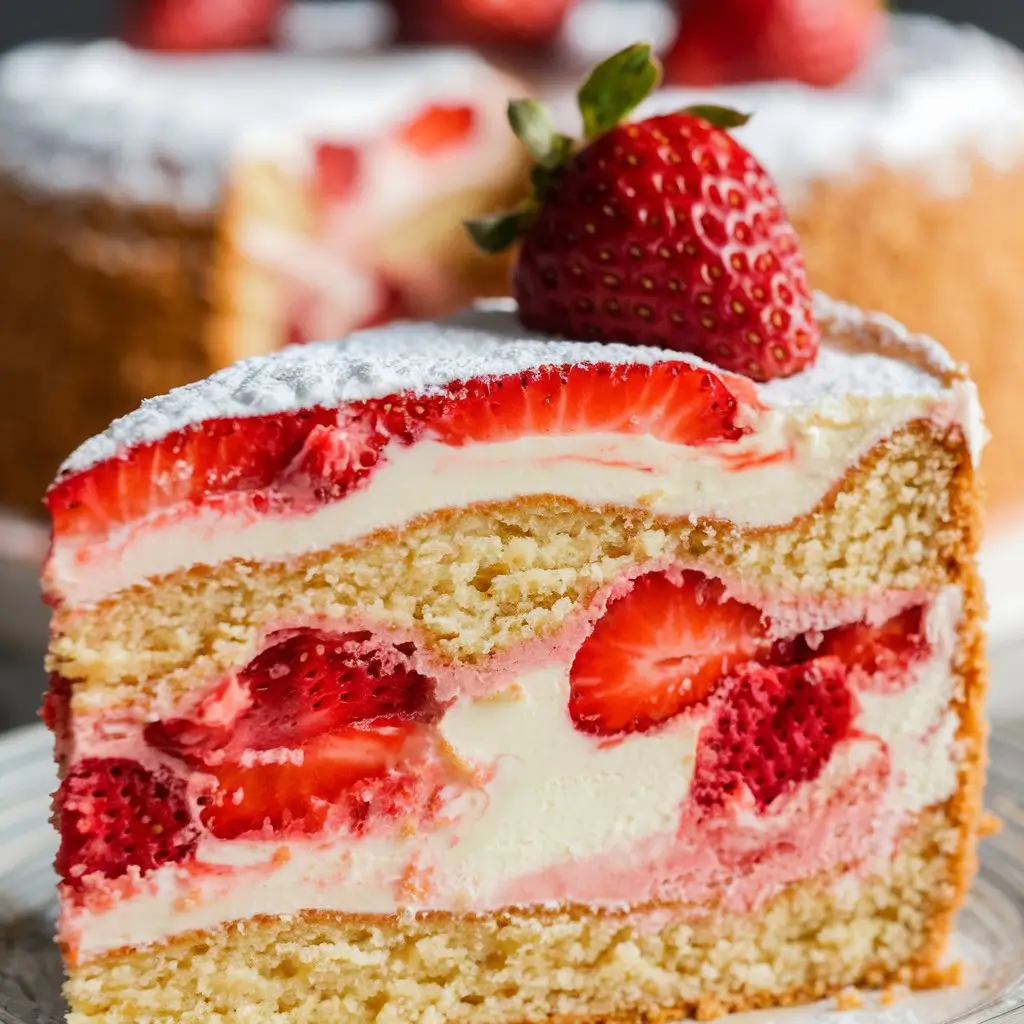
The strawberry version takes this concept to new heights by incorporating the bright, tangy sweetness of strawberries into the mix. When you cut into it, you’ll discover pockets of molten cream cheese, swirls of strawberry goodness, and a cake texture that’s somewhere between a traditional cake and a gooey cobbler. It’s comfort food meets sophisticated dessert most spectacularly.
“The beauty of earthquake cakes lies in their imperfection. While other desserts demand precision, this one celebrates the beautiful chaos that happens when amazing ingredients collide in the oven.”
The Origin of Earthquake Cakes and How Strawberry Became a Fan Favorite
Earthquake cakes first gained popularity with chocolate versions, often incorporating coconut, pecans, and German chocolate cake mix. The original concept was simple: create layers that would intentionally “quake” during baking for a visually stunning and texturally diverse dessert.
The strawberry variation emerged as bakers began experimenting with different flavor profiles. Once people discovered how perfectly the bright, fresh notes of strawberry complemented the rich creaminess of the cake’s other components, this version quickly became a sensation on social media and in home kitchens. The vibrant pink color doesn’t hurt either—it makes for an Instagram-worthy slice every time!
Why This Recipe Stands Out From Traditional Desserts
What makes the Strawberry Earthquake Cake truly special is its rebellious nature. In a world of precisely frosted cupcakes and meticulously layered tortes, this dessert dares to embrace chaos. And let me tell you, that culinary anarchy creates something magical.
First, there’s the textural experience. Each bite offers something different—some areas are fluffy and cake-like, others are dense and cheesecake-adjacent, while still others deliver pockets of jammy strawberry goodness. It’s like getting three desserts in one!
Then there’s the visual impact. When you bring this to the table, everyone will do a double-take. The surface, with its hills and valleys, swirls and cracks, tells the story of the delicious transformation that happened in your oven. It’s a conversation starter that backs up its looks with incredible flavor.
Finally, there’s the accessibility factor. Despite its impressive appearance, this cake is remarkably forgiving for bakers of all skill levels. You don’t need to worry about perfect edges or smooth frosting—the more rustic it looks, the more authentic it is!

Essential Ingredients for the Perfect Strawberry Earthquake Cake
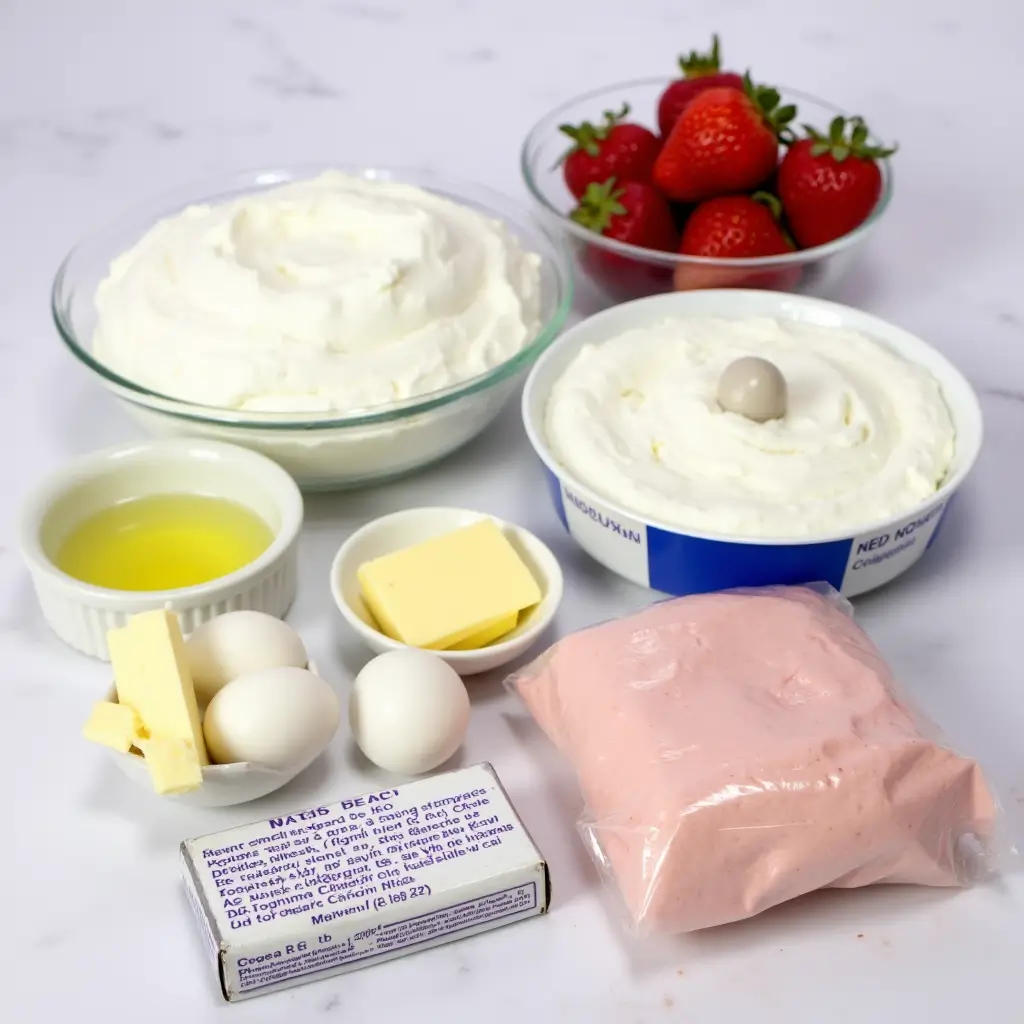
Before we dive into the preparation process, let’s gather everything you’ll need to create this show-stopping dessert. The magic of Strawberry Earthquake Cake comes from the perfect combination of simple ingredients that transform into something spectacular during baking.
The Complete Ingredient List
For the Cake Base:
- 1 box white cake mix (15.25 oz)
- 3 large eggs
- 1/2 cup vegetable oil
- 3/4 cup water (slightly less than package directions)
- 2 cups fresh strawberries, hulled and quartered (or frozen strawberries, partially thawed and drained)
- 1/2 teaspoon strawberry extract (optional, for enhanced flavor)
For the Cream Cheese Layer:
- 8 oz cream cheese, softened to room temperature
- 1/2 cup (1 stick) unsalted butter, softened
- 2 cups powdered sugar
- 1 teaspoon vanilla extract
- Pinch of salt
For Extra Strawberry Goodness:
- 1/3 cup strawberry preserves or jam
- 1/2 cup white chocolate chips (optional)
- 1/4 cup graham cracker crumbs (optional, for texture)
For Serving (Optional):
- Fresh strawberries for garnish
- Whipped cream
- Vanilla ice cream
- Powdered sugar for dusting

Having everything measured and ready before you start will make the preparation process much smoother. The beauty of this recipe is in its flexibility—you can adjust ingredient quantities to suit your taste preferences! 🍓
Fresh vs. Frozen Strawberries: Which Works Best?
This is one of the most common questions I get about this recipe, and I’m happy to report that both fresh and frozen strawberries can work wonderfully—with a few adjustments.
Fresh strawberries deliver unmatched brightness and texture, especially when they’re in season. The natural juiciness creates pockets of fruit throughout the cake that burst with flavor if you’re using fresh berries, hull and quarter them before incorporating them into your cake.
Frozen strawberries, on the other hand, are a fantastic year-round option. The freezing process breaks down the fruit’s cell walls, which can result in a more intense flavor distribution throughout your cake. The key is to partially thaw them first and drain any excess liquid to prevent your cake from becoming too wet.
“Strawberries are nature’s candy—whether fresh or frozen, they bring their special magic to this earthquake cake. Each option creates a slightly different result, so you might want to try both versions to discover your preference!”

Cake Mix Foundations: Choosing the Right Base
While purists might insist on making everything from scratch, the beauty of earthquake cakes lies partly in their convenience. A quality white or vanilla cake mix provides the perfect canvas for your strawberry masterpiece.
For this recipe, I recommend using white or vanilla cake mix as the base. These neutral flavors allow the strawberry to shine while providing the perfect structure. If you’re feeling adventurous, strawberry cake mix can intensify the berry flavor profile, though be careful—it can sometimes overwhelm the more subtle elements of the dessert.
When selecting your cake mix, look for one without pudding in the mix, as this can sometimes interfere with the desired earthquake effect. The plain versions give you more control over the final texture.
Cream Cheese Layer: The Secret to That “Earthquake” Effect
If strawberries are the star of this show, cream cheese is the co-star! The cream cheese layer is what creates that magical earthquake effect we’re looking for. As the cake bakes, this layer melts and sinks, causing the cake to shift and crack in the most delicious way possible.
For best results, you’ll want your cream cheese to be properly softened before mixing. Cold cream cheese will result in lumps and won’t spread correctly. I recommend taking it out of the refrigerator at least an hour before you plan to bake.
The cream cheese mixture typically includes powdered sugar for sweetness and a bit of vanilla extract for depth of flavor. Some recipes also call for an egg to help the mixture set properly during baking. The consistency you’re aiming for is smooth and pourable but not runny—think of the texture of the cake batter.
Step-by-Step Strawberry Earthquake Cake Recipe
Now that we understand the components that make this dessert so special, let’s walk through the process of creating your very own Strawberry Earthquake Cake Recipe. I’ll break this down into manageable steps so you can follow along with confidence.
Preparing Your Pan and Preheating: Setting Up for Success
Proper preparation is crucial for any baking project, but especially for earthquake cakes where the texture and appearance are so distinctive. Start by preheating your oven to 350°F (175°C). This temperature is ideal for creating our desired effect—hot enough to make everything melt and shift, but not so hot that the outside burns before the inside is done.
For your baking dish, a 9×13-inch pan works perfectly. Glass or ceramic pans conduct heat more slowly and evenly than metal ones, which can help prevent the edges from overcooking before the center is done. Whatever pan you choose, be sure to grease it generously. I recommend using butter rather than cooking spray, as it enhances flavor.
“The preparation stage is where great bakers separate themselves from good ones. Take your time here—a well-greased pan and properly preheated oven are the unsung heroes of perfect earthquake cakes!”
Creating the Cake Base: Mixing and Initial Layering
Begin by preparing your cake mix according to the package directions, but with one important modification—reduce the water by about ¼ cup from what’s recommended. This creates a slightly thicker batter that stands up better to our additions.
Once mixed, pour this batter into your prepared pan, spreading it evenly with a spatula. Don’t worry about making it perfectly smooth—remember, we’re embracing the chaotic nature of this dessert!
Next comes our first strawberry layer. If you’re using fresh strawberries, sprinkle about half of your quartered berries directly onto the cake batter. If you’re using frozen (partially thawed and drained), do the same. Gently press them into the batter just slightly—you want them to partially sink in but remain visible.
The Cream Cheese Mixture: Getting the Right Consistency
Now for the magical layer that creates our earthquake effect! In a medium bowl, beat your softened cream cheese until smooth and fluffy. This usually takes about 2 minutes with an electric mixer. Add in powdered sugar (about 1 cup) and vanilla extract (1 teaspoon), and continue beating until well combined.
The consistency here is crucial—too thick, and it won’t spread properly; too thin, and it will completely sink to the bottom. You’re looking for something that pours slowly, like honey. If needed, you can add a tablespoon of milk to thin it or a bit more powdered sugar to thicken it.
Once you’ve achieved the perfect consistency, pour this mixture over your cake batter in large dollops, spacing them evenly across the surface. Don’t pour it all in one spot! The goal is to create islands of cream cheese that will sink at different rates.
Using a butter knife or skewer, gently swirl the cream cheese mixture into the cake batter. Don’t over-swirl—just a few passes through each dollop is sufficient. We want distinct areas of cream cheese, not a completely homogenized mixture.
Strawberry Incorporation: Methods for Maximum Flavor
Now it’s time to add the remaining strawberries. Scatter them over the top of your swirled batter, focusing particularly on areas where the cream cheese is visible. For an extra burst of strawberry flavor, you might also add a few spoonfuls of strawberry preserves, dotted across the surface.
Some bakers like to add a strawberry glaze at this stage. If you’re going this route, mix ½ cup of strawberry preserves with 2 tablespoons of water, heat briefly in the microwave until pourable, and drizzle over the top of your cake. This creates gorgeous pink streaks throughout the finished product.
For those who love texture contrast, a sprinkle of white chocolate chips or even a Graham cracker crumble can add another dimension to your earthquake cake. These additions create little pockets of surprise throughout the dessert.
Baking Times and Temperature: Achieving the Perfect “Quake”
Now comes the transformation in the oven! Slide your creation into your preheated oven and prepare for magic to happen. The standard baking time is 40-45 minutes, but this can vary depending on your oven and the exact ingredients used.
The key to the perfect earthquake cake is knowing when it’s done. You’re looking for golden brown edges that have started to pull away slightly from the sides of the pan. The center should still have some jiggle to it—similar to how you’d want a cheesecake to look when it’s done. If you insert a toothpick into the cakey parts (not the cream cheese areas), it should come out with a few moist crumbs.
Remember, we’re not looking for the same doneness as a traditional cake. If you bake until a toothpick comes out completely clean, you’ve gone too far, and your cake will lose that magnificent gooey texture that makes earthquake cakes so irresistible!
Common Problems When Making Strawberry Earthquake Cake and How to Solve Them
Even the most experienced bakers encounter challenges sometimes. Let’s address the most common issues people face when making Strawberry Earthquake Cake and how you can overcome them.
Cake Too Dry: Moisture Balance Solutions
If your earthquake cake turns out drier than expected, there are several potential culprits. The most common is overbaking—remember that slightly jiggly center is what we want! If you’ve already baked too long, don’t worry. Serve your cake warm with a scoop of vanilla ice cream or a drizzle of warm strawberry sauce to add back moisture.
For future bakes, try adding an extra egg to your cake mix or replacing the water with equal parts milk for a richer, moister result. Another trick is to mix a half cup of sour cream into your cake batter—this adds both moisture and a subtle tangy note that pairs beautifully with strawberries.
“Baking is both an art and a science. When your cake comes out too dry, think of it as an opportunity to experiment with delicious moisture-adding techniques for your next attempt!”
Cream Cheese Layer Sinking Too Much: Proper Technique Tips
One of the most common issues bakers report is the cream cheese layer sinking completely to the bottom, rather than creating those beautiful pockets throughout the cake. This usually happens when the cream cheese mixture is either too thin or too warm.
To prevent this, make sure your cream cheese mixture has enough structure—add an extra 1/4 cup of powdered sugar if it seems too loose. Another trick is to chill your prepared cream cheese mixture for 15-20 minutes before dolloping it onto the cake batter. This firms it up just enough to prevent immediate sinking.
Some bakers even swear by adding 1 tablespoon of flour to the cream cheese mixture to help it maintain structural integrity during baking. If all else fails, embrace the “upside-down” nature of your cake—a layer of cream cheese at the bottom can be just as delicious!
Strawberries Bleeding Too Much Color: Prevention Methods
Strawberries, especially frozen ones, can sometimes release too much juice during baking, causing color bleeding throughout your cake. While this doesn’t affect the flavor, it might not give you the distinct swirled look you’re hoping for.
The simplest solution is to thoroughly drain frozen strawberries before using them. Pat them dry with paper towels to remove excess moisture. For fresh strawberries, tossing them in 1 tablespoon of flour before adding them to the cake helps absorb some of the juice during baking.
If you’re particularly concerned about color bleeding, consider using half your strawberries in the batter and saving the rest for a fresh topping after baking. This gives you the strawberry flavor without risking a pink-tinted cake (unless that’s what you’re going for!).
Uneven “Earthquake” Effect: Troubleshooting the Signature Look
Sometimes, the dramatic cracks and crevices that give this cake its name just don’t materialize as expected. This is usually because the temperature differential between the layers isn’t significant enough to create that movement during baking.
To enhance the earthquake effect, try chilling your cream cheese mixture for 15 minutes before adding it to the room-temperature cake batter. The greater the temperature difference, the more dramatic the “quake” will be during baking.
Another trick is to make sure you’re not over-mixing when you swirl. Too much swirling homogenizes the batters, preventing those distinct boundaries that create the cracking effect. Just 3-4 passes with a knife through each cream cheese dollop is enough.
Variations on the Classic Strawberry Earthquake Cake
Once you’ve mastered the basic Strawberry Earthquake Cake Recipe, why not experiment with some delicious variations? The basic technique remains the same, but these twists offer new flavor dimensions.
Strawberry-Chocolate Earthquake Cake: A Decadent Twist
For chocolate lovers, this variation is heavenly. Use a chocolate cake mix as your base instead of white or vanilla. The contrast between the rich chocolate and bright strawberry creates a stunning visual and flavor combination.
Add a half cup of mini chocolate chips to your cream cheese mixture, and consider using chocolate-covered strawberries as a garnish when serving. The combination of chocolate and strawberry is classic for a reason—it simply works!
Strawberry-Lemon Earthquake Cake: For Citrus Lovers
If you love bright, tangy flavors, this variation will delight your taste buds. Add the zest of one lemon and 2 tablespoons of lemon juice to your cake batter. For the cream cheese layer, mix in a tablespoon of lemon zest for a fragrant citrus note.
The combination of strawberry and lemon creates a refreshing dessert that’s perfect for spring and summer gatherings. Top with a sprig of fresh mint for an extra layer of brightness.
Strawberry Cheesecake Earthquake Cake: Double the Indulgence
This variation leans heavily into the cheesecake elements already present in the recipe. Increase the cream cheese mixture by half (using 12 ounces of cream cheese instead of 8), and add one egg to help it set more firmly, creating distinct cheesecake-like pockets.
Add crushed Graham crackers to the bottom of the pan before pouring in your cake batter to create a cheesecake-inspired crust. When serving, a dollop of whipped cream and fresh strawberry garnish completes the cheesecake illusion.
Serving and Storage Tips for Strawberry Earthquake Cake
Best Temperature for Serving: Warm, Room Temperature, or Chilled?
One of the beautiful things about earthquake cakes is their versatility when it comes to serving temperature. Each option offers a slightly different experience:
Warm: Serving the cake while still warm (about 30 minutes out of the oven) gives you the most gooey, molten texture. The cake portion remains fluffy while the cream cheese areas are deliciously soft. This is my favorite way to enjoy earthquake cake!
Room temperature: After cooling completely (about 2 hours), the flavors meld together beautifully. The texture becomes more uniform but still maintains distinct areas of cake and cream cheese.
Chilled: After refrigeration, the cake takes on an almost fudgy quality, with the cream cheese areas becoming firm and cheesecake-like. Many people prefer this texture, especially during summer months.
“There’s no wrong way to serve earthquake cake—each temperature creates a unique dessert experience. I recommend trying all three to discover your personal preference!”
Topping Ideas to Elevate Your Strawberry Earthquake Cake
While this cake is certainly delicious on its own, the right topping can take it to new heights:
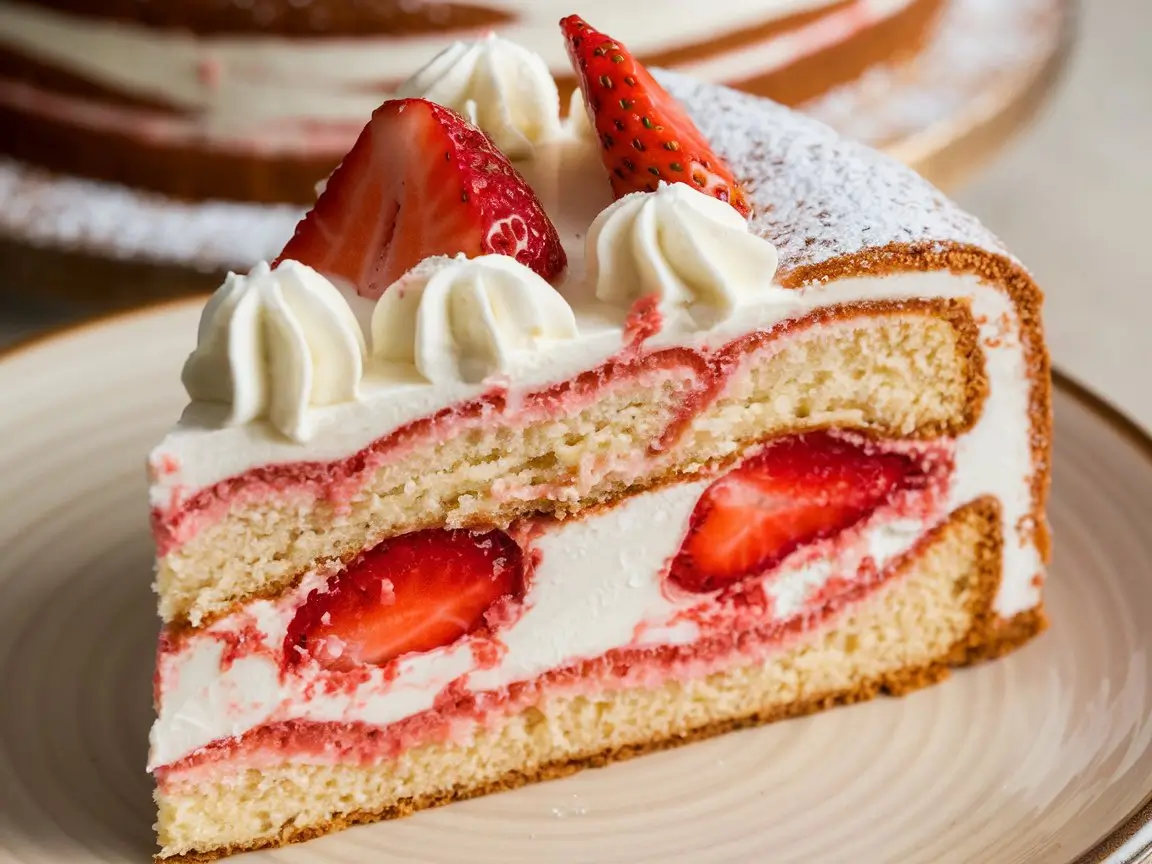
- Fresh whipped cream with macerated strawberries
- Vanilla bean ice cream with a warm strawberry compote
- White chocolate drizzle and fresh mint
- Crushed freeze-dried strawberries for intense flavor and beautiful color
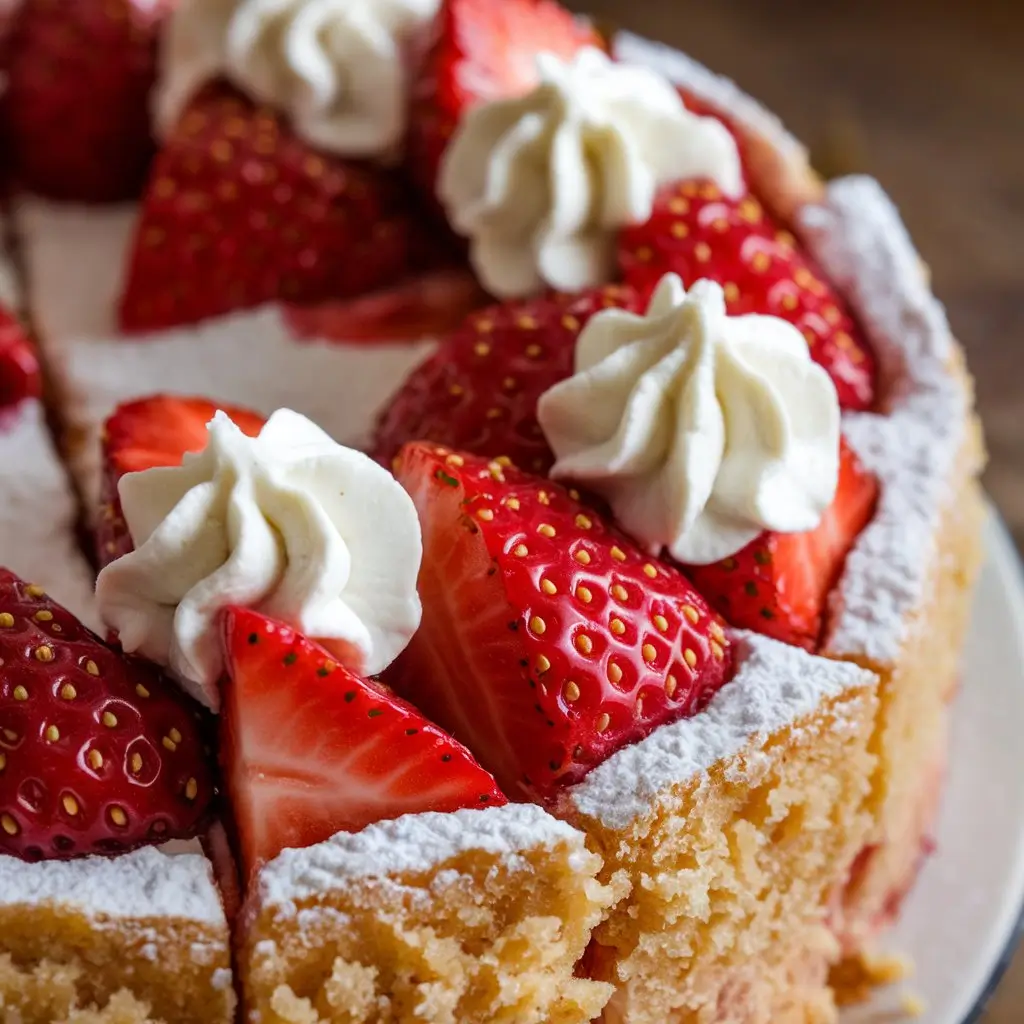
- A simple dusting of powdered sugar for an elegant finish
For special occasions, consider creating a “dessert bar” with the cake as the centerpiece and various toppings available for guests to customize their slices.
How to Store Leftovers for Maximum Freshness
Due to the cream cheese component, the Strawberry Earthquake Cake should be refrigerated if not consumed within 2 hours of baking. Cover the pan tightly with plastic wrap or transfer leftover slices to an airtight container.
Properly stored, this cake will maintain its quality for up to 5 days in the refrigerator. The texture will change slightly, becoming more dense and fudgy over time—many people prefer it after it’s had a day to set!
If you want to freeze portions for later enjoyment, wrap individual slices tightly in plastic wrap and then aluminum foil. They can be frozen for up to 3 months. Thaw overnight in the refrigerator for best results.

Strawberry Earthquake Cake
Ingredients
Method
Notes
- Calories: 710
- Fat: 41g
- Protein: 6g
- Carbohydrates: 85g
- Fiber: 1g
- Sugars: 61g
Frequently Asked Questions About Strawberry Earthquake Cake
You’ve got questions about this delicious dessert, and I’ve got answers! Here are the most common questions I receive about Strawberry Earthquake Cake.
Can I Make This Cake Ahead of Time for an Event?
Absolutely! Strawberry Earthquake Cake is an excellent make-ahead dessert. The flavors deepen and meld together beautifully after a day in the refrigerator. If you’re planning for an event, I recommend baking it 1-2 days in advance.
For the freshest presentation, you can store the cake in the refrigerator and then bring it to room temperature about an hour before serving. If you prefer to serve it warm, cover it with foil and reheat it in a 300°F oven for about 15 minutes before your event.
The only topping I’d recommend adding just before serving is any fresh fruit or whipped cream, as these are best when freshly prepared. Everything else can be done well in advance!
Is There a Way to Make This Recipe Healthier?
While Strawberry Earthquake Cake is an indulgent treat, there are several ways to create a slightly healthier version without sacrificing too much of that delicious flavor and texture:
- Use reduced-fat cream cheese instead of full-fat. While the texture will be slightly different, it still creates a delicious effect.
- Try a yogurt cake mix or a homemade cake batter with applesauce replacing some of the oil. This reduces the overall fat content while maintaining moisture.
- Increase the fruit ratio! More strawberries mean more nutrients and natural sweetness, allowing you to potentially reduce some of the added sugar.
- Consider using Neufchâtel cheese, which has about 1/3 less fat than regular cream cheese but behaves similarly in recipes.
“Remember that desserts are meant to be enjoyed! Sometimes a moderate portion of the real thing is more satisfying than a larger portion of a heavily modified version. Balance is key!”
Can I Use Other Berries Instead of Strawberries?
One of the most wonderful things about this recipe is its versatility! While strawberries create that gorgeous pink hue and sweet-tart flavor profile, other berries work beautifully as well:
- Blueberries create a stunning purple-blue marble effect and pair wonderfully with lemon zest in the cream cheese layer.
- Raspberries offer an intense, slightly more tart flavor that contrasts beautifully with the sweet cake base.
- Blackberries provide a dramatic dark purple swirl and a complex, wine-like flavor.
- Mixed berries give you the best of all worlds with a beautiful confetti effect throughout the cake.
When substituting other berries, keep in mind that some are juicier than others. Blueberries tend to bleed less color than raspberries or blackberries, so adjust your expectations for the final appearance accordingly. Regardless of which berry you choose, the earthquake effect will still work its magic!
Why Didn’t My Cake “Earthquake” Like the Pictures?
This is perhaps the most common question I receive! If your cake didn’t develop those characteristic cracks and swirls, there are several possible reasons:
First, check your oven temperature. An oven that runs too cool won’t create the rapid rise needed for the dramatic earthquake effect. Consider using an oven thermometer to verify your temperature is accurate.
Second, the cream cheese mixture might have been too thoroughly incorporated. For the best earthquake effect, you want distinct dollops of cream cheese mixture that are only lightly swirled—not completely mixed into the batter.
Third, the consistency matters. If your cream cheese mixture was too thin, it might have sunk completely to the bottom instead of creating those middle-layer pockets that push up during baking.
Finally, some cake mixes contain stabilizers that can prevent the dramatic movement we’re looking for. Try a different brand or a homemade cake batter next time.
Remember, even if your cake doesn’t look exactly like the pictures, the flavor will still be amazing! Each earthquake cake is unique—just like real geological events!

