Ingredients
Equipment
Method
- Step 1: Brown the ButterPlace 1 cup of unsalted butter in a small saucepan over medium heat. Allow it to melt, then continue heating for 5-7 minutes, stirring occasionally. The butter will go through several stages—foaming, then turning golden brown with a nutty aroma. Watch carefully, as the line between beautifully browned and burnt is thin. Once golden brown, pour into a bowl and let cool for about 10 minutes. This step is crucial for developing that signature Crumbl cookie flavor.
- Step 2: Combine Wet IngredientsPour the cooled brown butter into a large mixing bowl. Add both granulated sugar and brown sugar, then mix for 1-2 minutes until combined. The mixture should look slightly grainy, which is exactly what you want. Add the whole egg and egg yolk one at a time, mixing well after each addition. This ensures proper emulsification. Finish by adding the vanilla extract and mix until the mixture is smooth and slightly fluffy. Don't skip this step—proper mixing creates that signature texture.
- Step 3: Prepare Dry IngredientsIn a separate bowl, whisk together the all-purpose flour, baking soda, and salt. Make sure everything is evenly distributed—this prevents baking soda clumps that can affect your cookies.
- Step 4: Combine Wet and DryGently fold the dry ingredient mixture into the wet ingredients using a spatula or wooden spoon. Mix until just combined—this is important. Overmixing develops gluten, which makes cookies tough instead of tender. You want the dough to come together without being overworked.
- Step 5: Chill the DoughCover the dough bowl with plastic wrap and refrigerate for at least 2 hours. Overnight chilling is even better if you can wait. This step is non-negotiable if you want thick, puffy cookies instead of flat pancakes. The cold dough prevents spreading during baking and creates that signature Crumbl texture.
- Step 6: Preheat and ScoopPreheat your oven to 350°F (175°C). Using a 2-tablespoon cookie scoop, portion the dough onto a parchment-lined baking sheet, spacing them about 3 inches apart (these cookies spread a bit). For uniform-looking cookies, drop each scoop in a mound shape and gently round the tops with your fingers.
- Step 7: Bake to PerfectionBake for 11-13 minutes. Here's the critical tip: the cookies should look slightly underdone in the center when you remove them from the oven. The edges should be a beautiful golden brown, but the middle will still look a little soft and slightly glossy. This underbaking is what creates that signature Crumbl cookie contrast—crispy edges with a soft, gooey center.
- Step 8: Cool ProperlyLet the cookies cool on the baking sheet for exactly 5 minutes—no more, no less. This time allows them to set slightly while still being soft enough to transfer. Then, carefully transfer to a wire cooling rack. This step is crucial for achieving that perfect textural contrast. Let cool completely before frosting (about 30 minutes).
- Step 9: Make the FrostingWhile the cookies cool, prepare the frosting. In a mixing bowl, beat the softened butter until creamy and light, about 1-2 minutes. Gradually add the sifted powdered sugar a little at a time, mixing on low speed to avoid a powdered sugar cloud. Add the vanilla extract and a pinch of salt. Mix until smooth. If the frosting seems too thick, add heavy cream one tablespoon at a time until you reach a spreadable consistency—not too thick, not too thin.
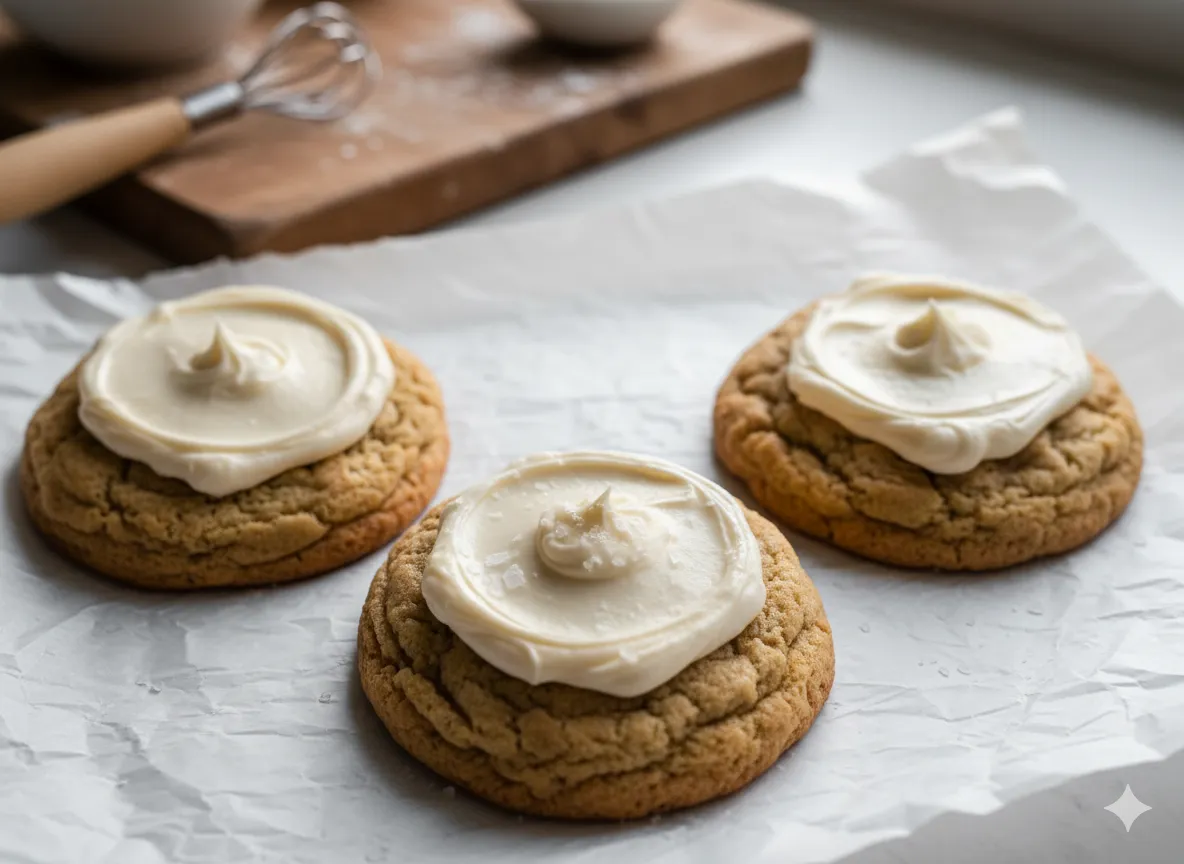
- Step 10: Frost and FinishOnce the cookies are completely cool, spread a generous, thick layer of frosting on top of each cookie. Some people dip the tops in frosting for extra coverage (very on-brand for Crumbl), while others prefer a thick spread. Both methods work beautifully. If using sea salt garnish, sprinkle lightly on top while the frosting is still soft.
Notes
Brown Butter Temperature: Make sure the brown butter is completely cooled before adding it to the sugar. Warm butter will throw off your ratios and affect the final texture.
Egg Temperature Matters: Room temperature eggs blend better with the other ingredients. Cold eggs create a grainy batter. Leave your eggs on the counter for 30 minutes before baking.
The Underbaking Secret: This is the game-changer. Slightly underbaked cookies continue cooking on the pan during the cooling period, creating that perfect soft center and crispy edge.
Make It Gluten-Free: Use a 1:1 gluten-free flour blend as a direct substitute. The cookies turn out just as soft and delicious. My partner Jamie swears by this adaptation.
Flavor Variations: Add ½ teaspoon almond extract to the dough for extra depth, or try a brown butter frosting by browning additional butter and using it in place of regular butter in the frosting. The possibilities are endless.
Freezer-Friendly Dough: Scoop the dough into balls, freeze them on a baking sheet until solid, then transfer to a freezer bag. Bake from frozen, adding 1-2 minutes to the baking time. Perfect for fresh cookies anytime.
Storage Hack: Keep baked cookies in an airtight container for 3-4 days. Double-wrap them if possible to prevent drying out. These rarely last long in my house anyway.